

In order to register an attendance system with the RFID cards, you will need to follow the steps below. First of all, you will need to access the link and download the app that you need to connect devices.
The app will generate a unique code that you will use to make a connection between the attendance system and the iFlow app.
Attention! Codes are unique, if you have multiple devices that you need to connect you will need to install the apps on different computers. The app only generates a unique code per one computer.
How do I connect a device to iFlow?
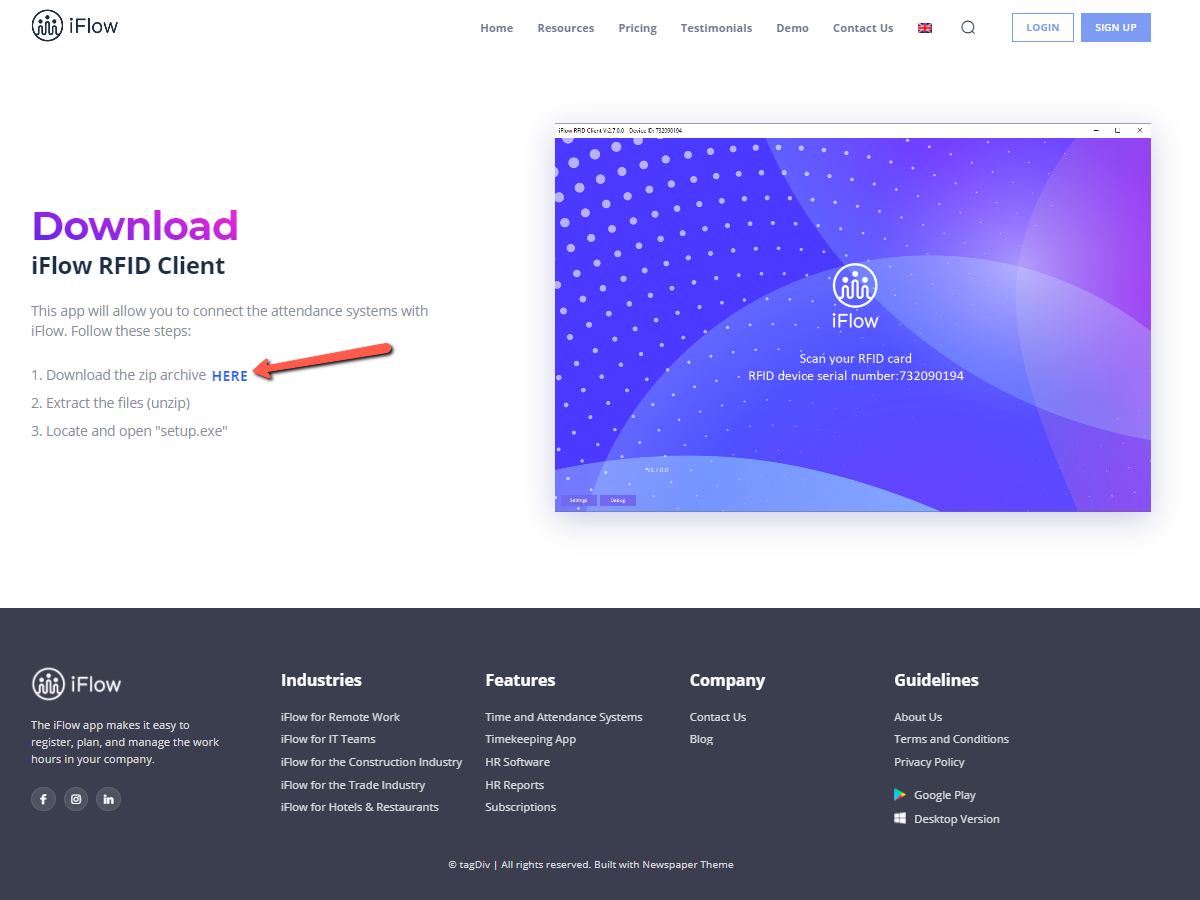
- Access the downloading link HERE
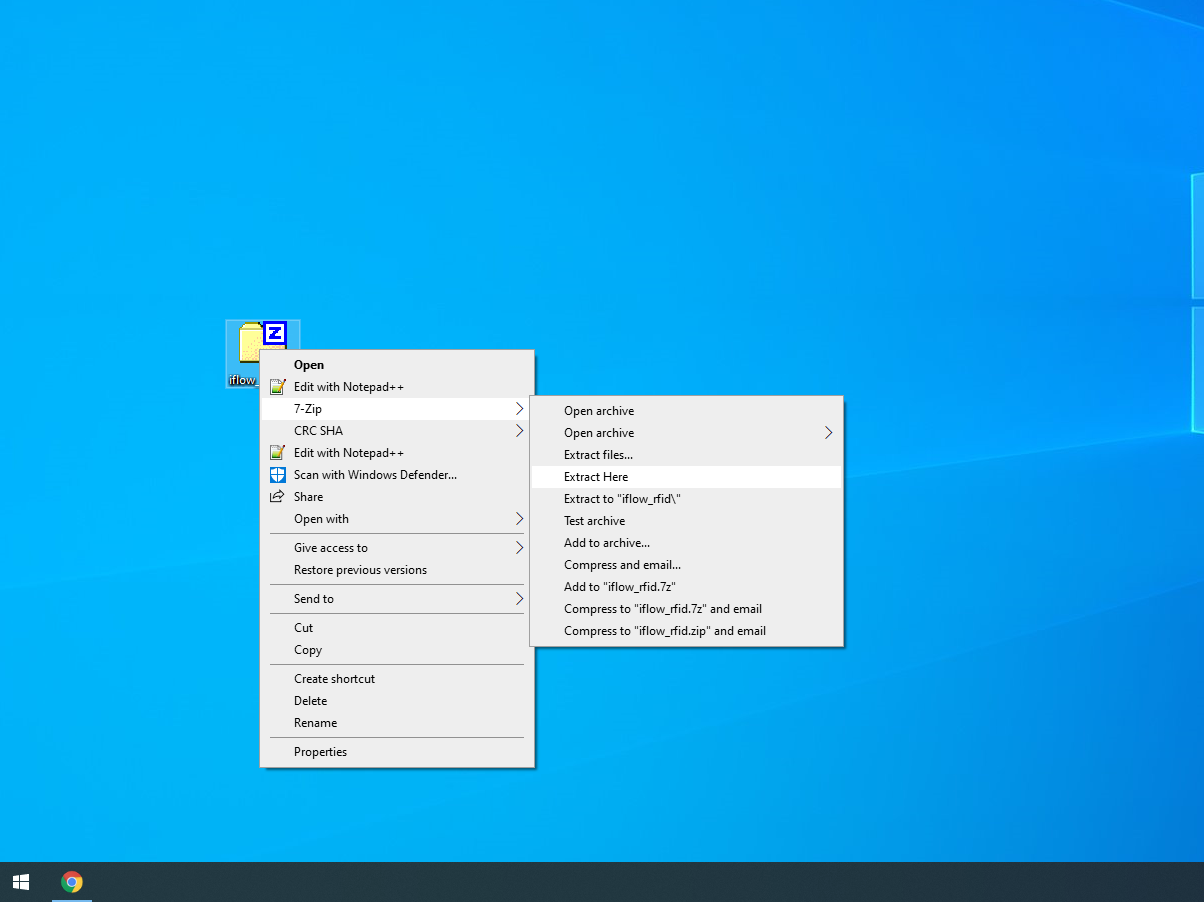
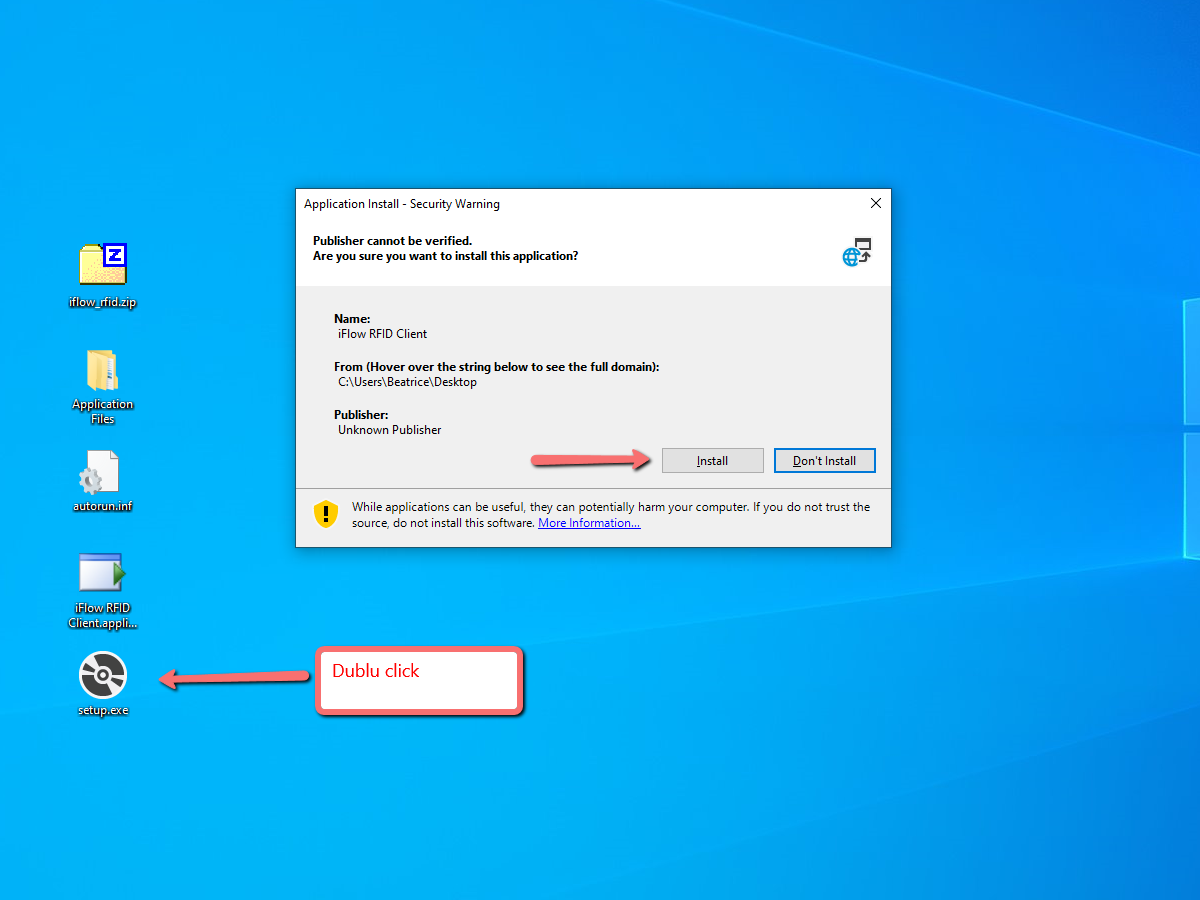
- Download the archive, extract the files, and open Setup.exe
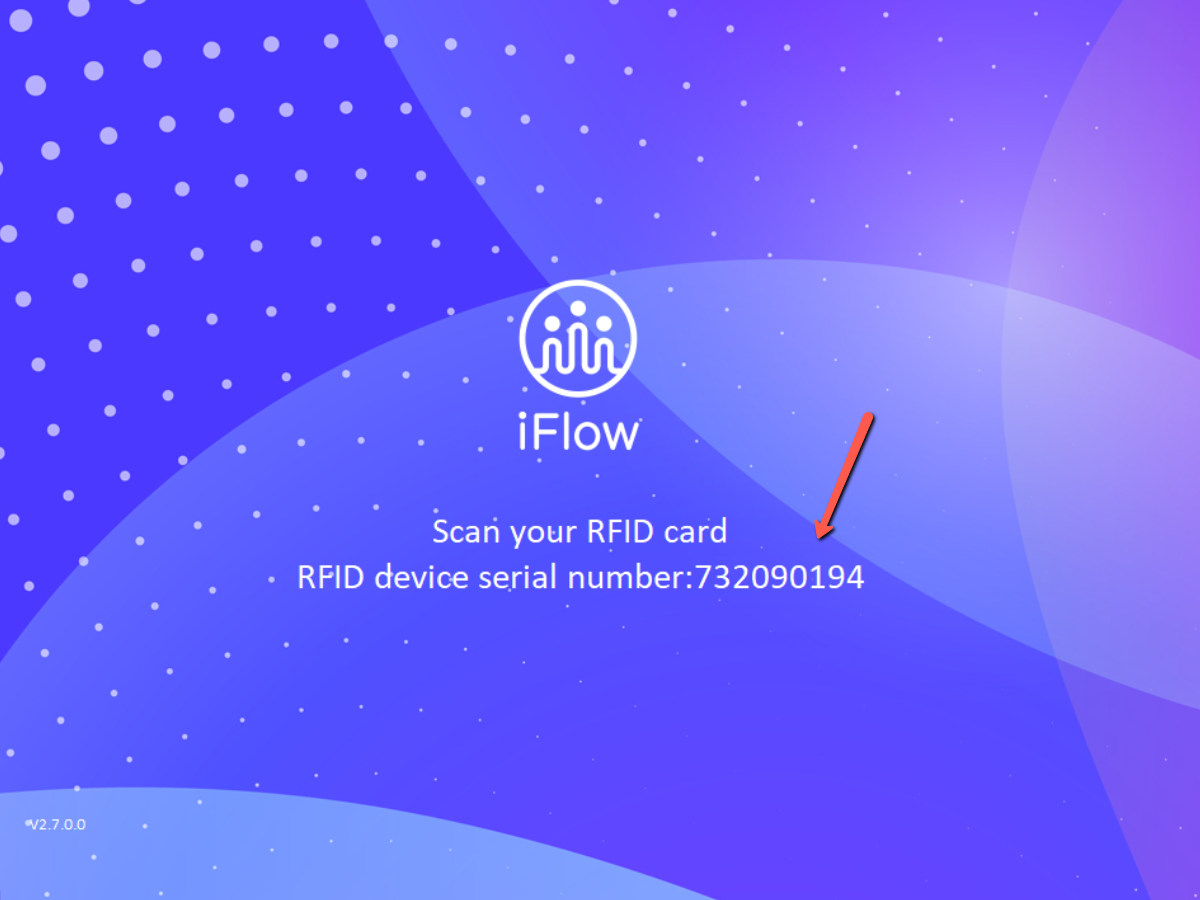
- Copy the series of the device
- Log into your iFlow account
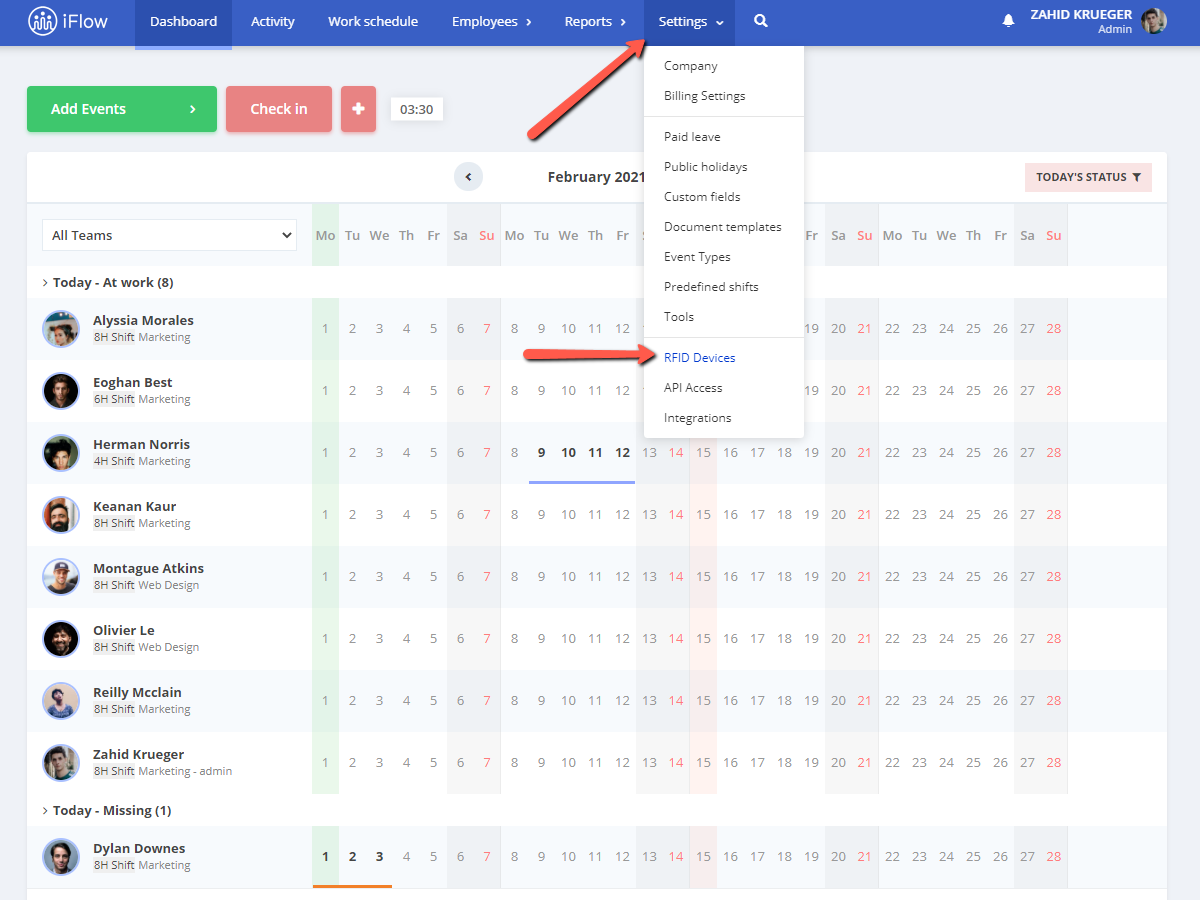
- From the main menu “Settings”
- Section “RFID Devices”
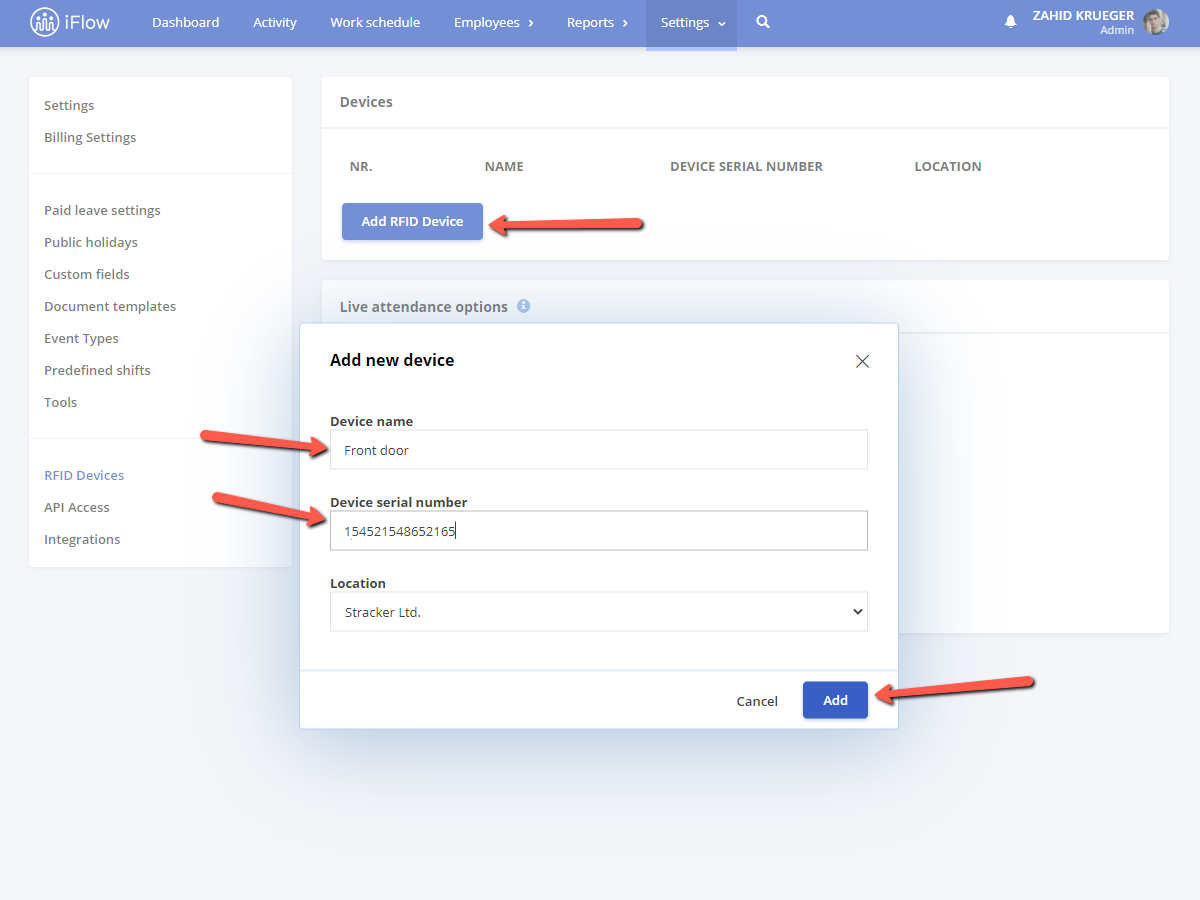
- Click on the “Add RFID device” button
- Name the device
- Complete the series of the device that you copied before
- Click on “Add”

How do the live attendance options work?
Check-in reset limit
This limit defines the moment in which the app registers a check-in regardless of the previous event. You set the number of hours after which this reset happens.
Example: We set an 8H limit. An employee with a work schedule from 8 AM to 4 PM will check-in at 8 AM, but they forget to check-out at 4 PM. Due to the check-in reset limit, the next morning when the employee checks-in the app will register it as a check-in. If you did not set the check-in reset limit, the app will note it as a check-out. This limit helps you register correct data and reduces the risks of errors.
Waiting time between check-ins
This limit defines the check-in and check-out events based on the waiting time you set and the first check-in of the day.
Example: We set an 8H limit. An employee with a work schedule from 8 AM to 4:30 PM will check-in at 8 AM, then they make a break from 12 PM to 12:30 PM, and at 4:30 PM they check-out. The check-ins for the break will appear in the report as Unknown and only the last one will be considered the check-out. If you do not set this limit, the check-ins for the break will be registered as a check-out, and at the end of the day, there will be two check-ins and two-check-outs.
Advice:
- The waiting time between check-ins needs to be bigger than the maximum working hours
- Set the waiting time with a margin of error, not with the exact number of working hours. For example, if your employees work 8 hours a day, set the limit for 8:30 or 9 hours. Because your employees can come to work earlier or leave later.
How do I register the RFID cards?
Allocating the RFID cards to the employees can be made in 3 ways. When you import the employees into iFlow by using the predefined file that you can find in your account, by scanning the cards, or by adding the series of the card to each employee’s profile manually.
To register the cards through the import file, the only thing that you need to do is complete the column RFID Series from the file.
If you already added the employees, then follow these steps to allocate the cards:
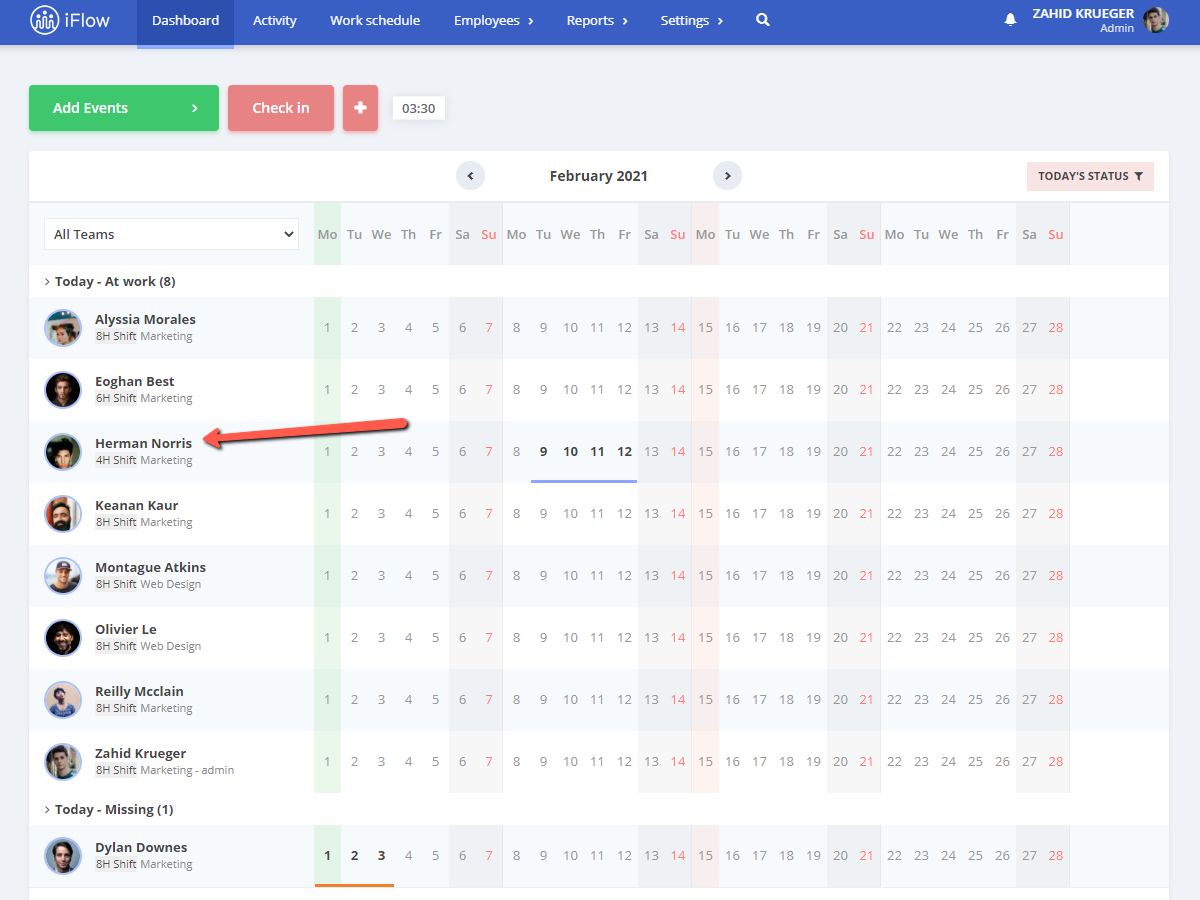
- From the Dashboard or from the Employees menu
- Click on the employee’s name
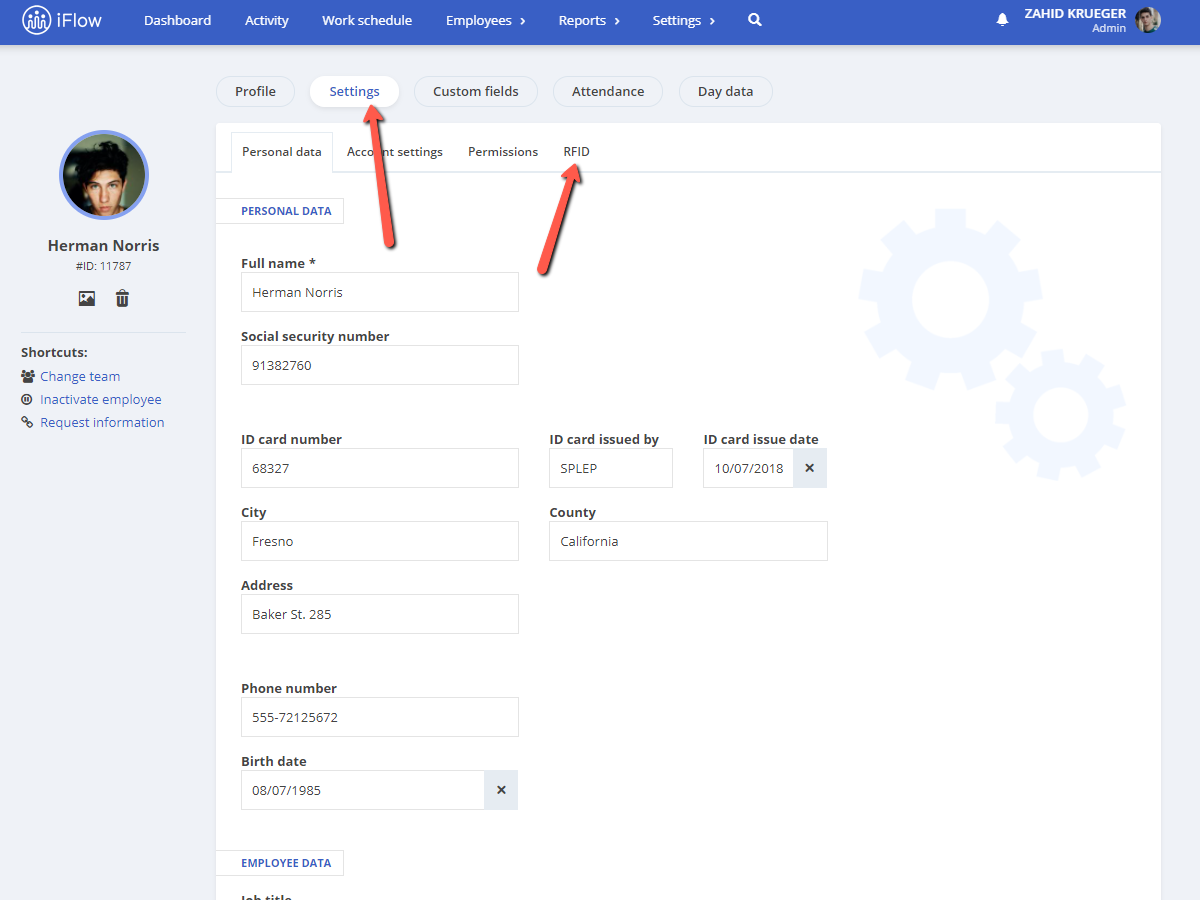
- Click on the Settings menu from their profile
- Click on the submenu RFID
- Select the device, click on Scan
- Scan the card by using the card reader
- Click on “Save settings”
If you do not wish to add the cards by scanning, there are three other options:
- By using the import file when you are adding the employees for the first time
- By using the update file after you already added the employees
- By completing the series number manually
How do the employees check-in/out by using the RFID cards?
After you installed the device and the card reader, employees only need to scan their cards. Because of this action, three events can result:
- Check-in – the moment the work schedule started
- Check-out – the moment the work schedule ended
- Unknown – an event that is not categorized as check-in or out
How does the “Unknown” event appear?
This event appears usually out of a mistake when an anomaly happens when registering check-ins/outs. It happens when multiple attendances are recorded in a short period of time, or during a day.
You can define these events, edit them in check-ins or outs or delete them.
These events do not influence the time registered by the system, the unknown events will not be taken into account when calculating the working hours.
Practical example:
- Unknown events that do not affect the hours recorded: they are events that we do not transform into a check-in or out, they remain like this and they will affect the hours recorded
- Unknown events that affect the hours recorded: the check-in is registered as the first attendance of the day, 2 unknown events, and one check-out. If we transform the first unknown event into a check-out and the second one into a check-in, the app will calculate the amount between the check-ins and outs, without calculating the time between the check-out and check-in.
Keywords: connect device, connect RFID cards, configure attendance system, configure RFID card, register RFID cards


