How to add events
To add events to the application, follow these steps:
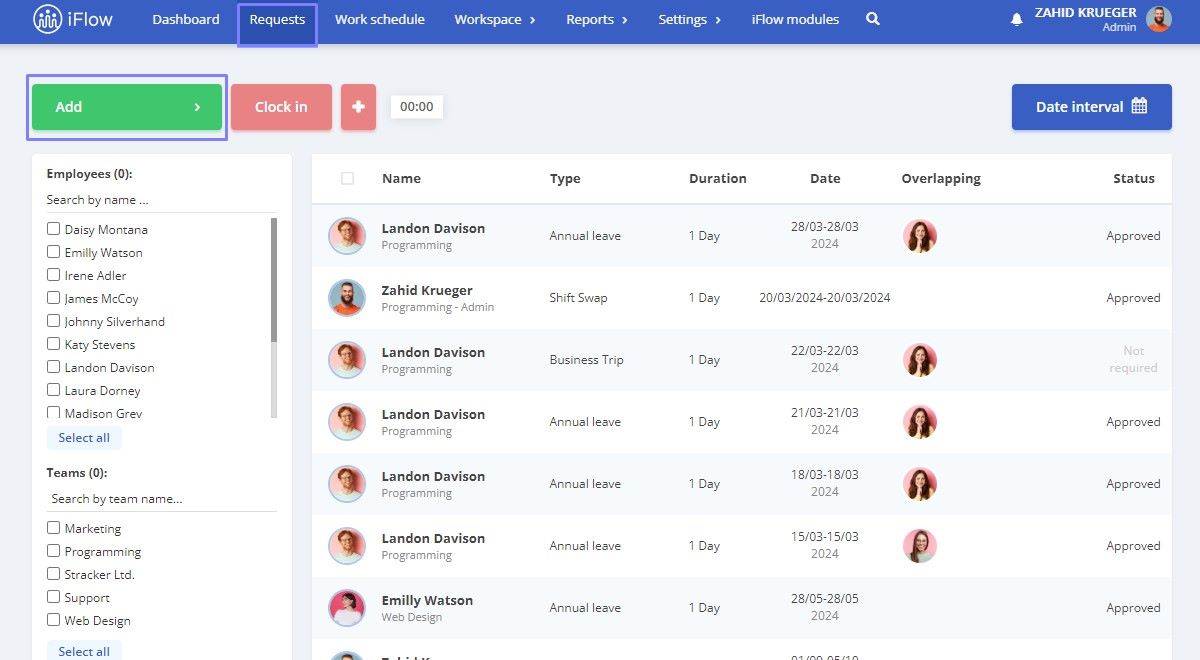
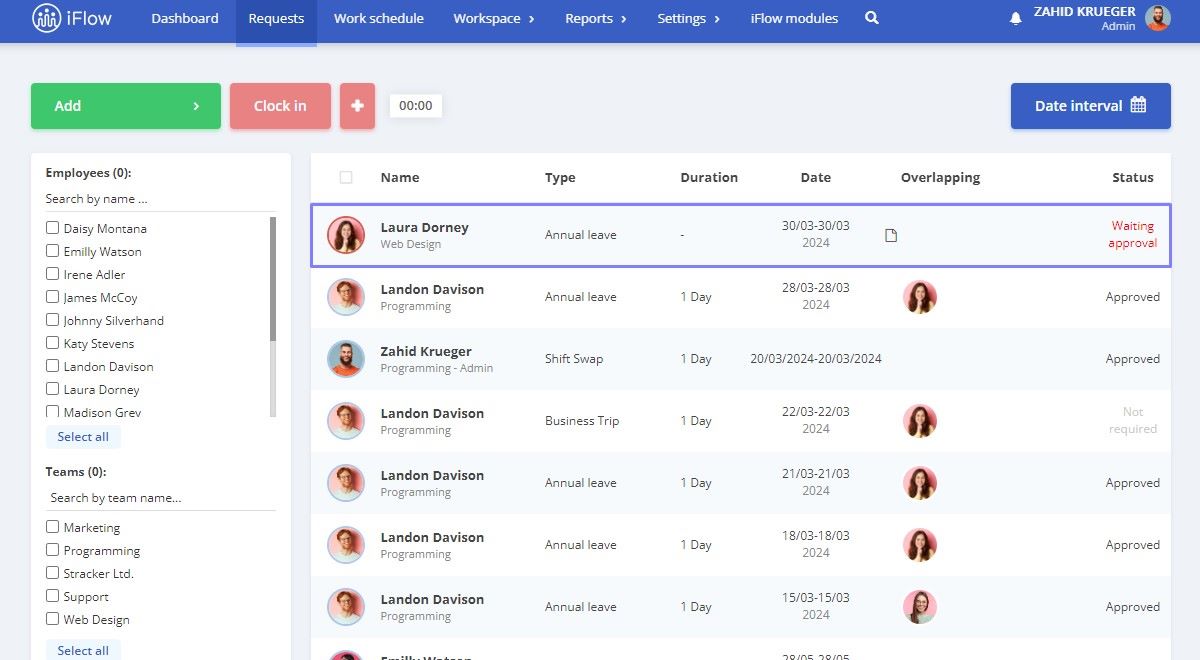
- From the main menu, click on the Requests, then choose the type of event from the dropdown menu by clicking on the Add button
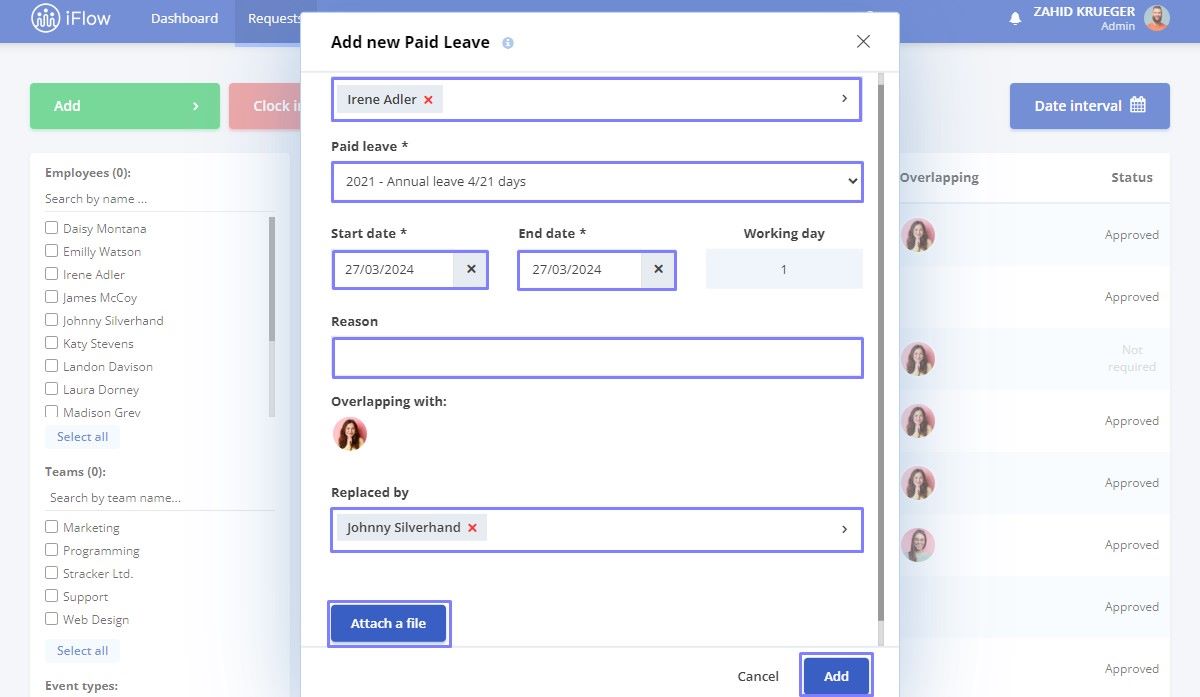
- Select the Employee(s)
- Set the Start date and End date of the event using the calendar
- If necessary, specify the Reason for the request
- If applicable, select a substitute for the employee involved in the event
- You can attach a relevant file to the event by clicking the Attach File button
- To finalize the event addition process, press the Add button
How to view events
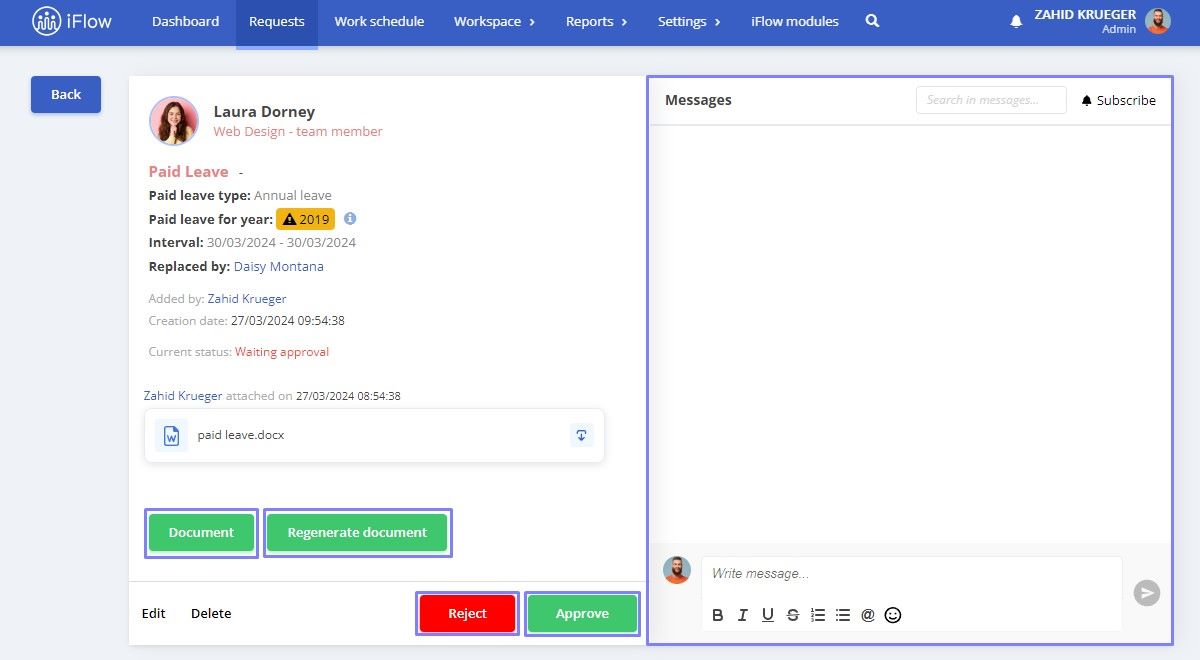
- Click on the Event to see all its details
- Approve or Reject the event
- View associated documents, click on Document or Regenerate document
- Easily communicate with the employee using the Comments section
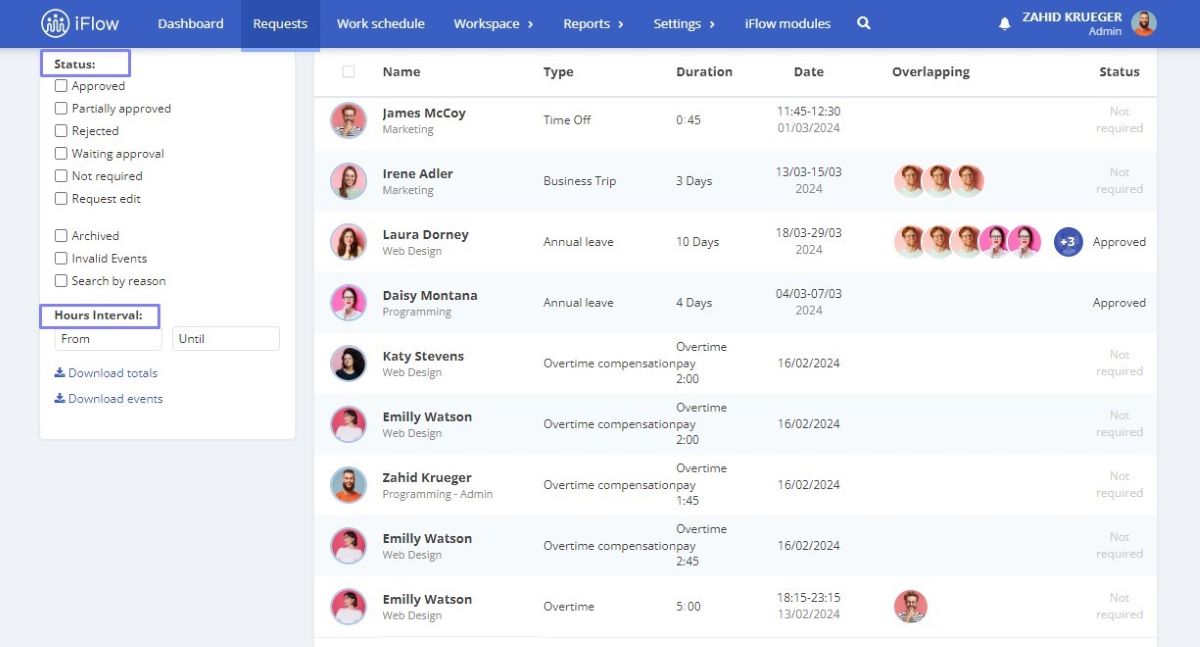
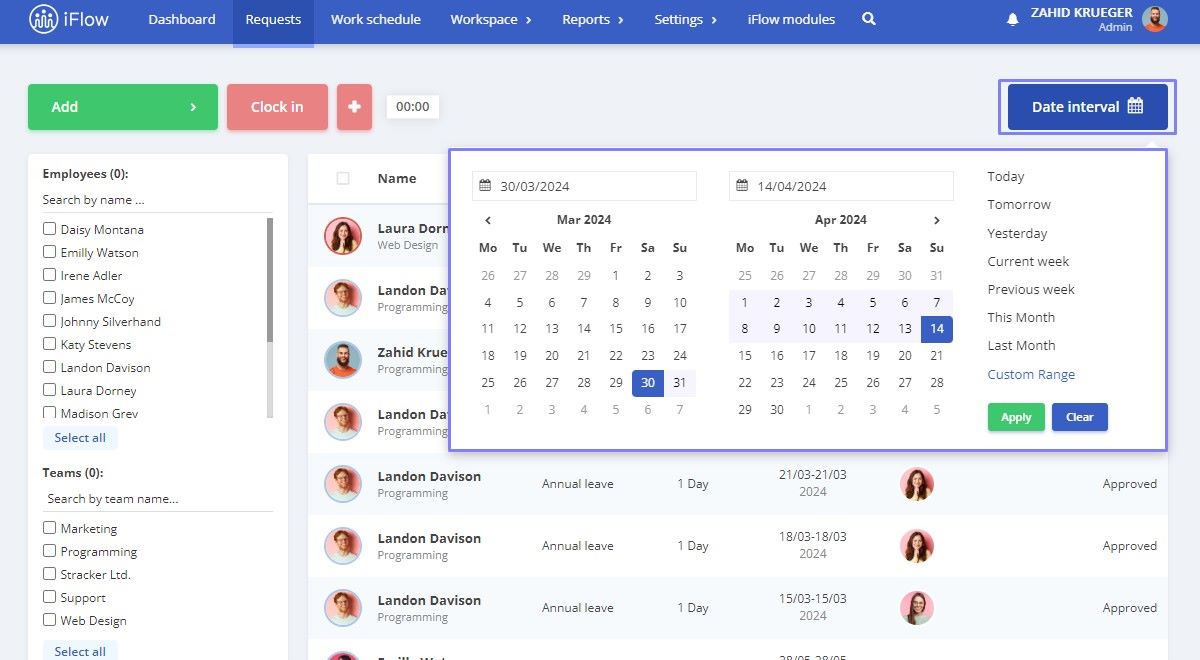
How to filter events
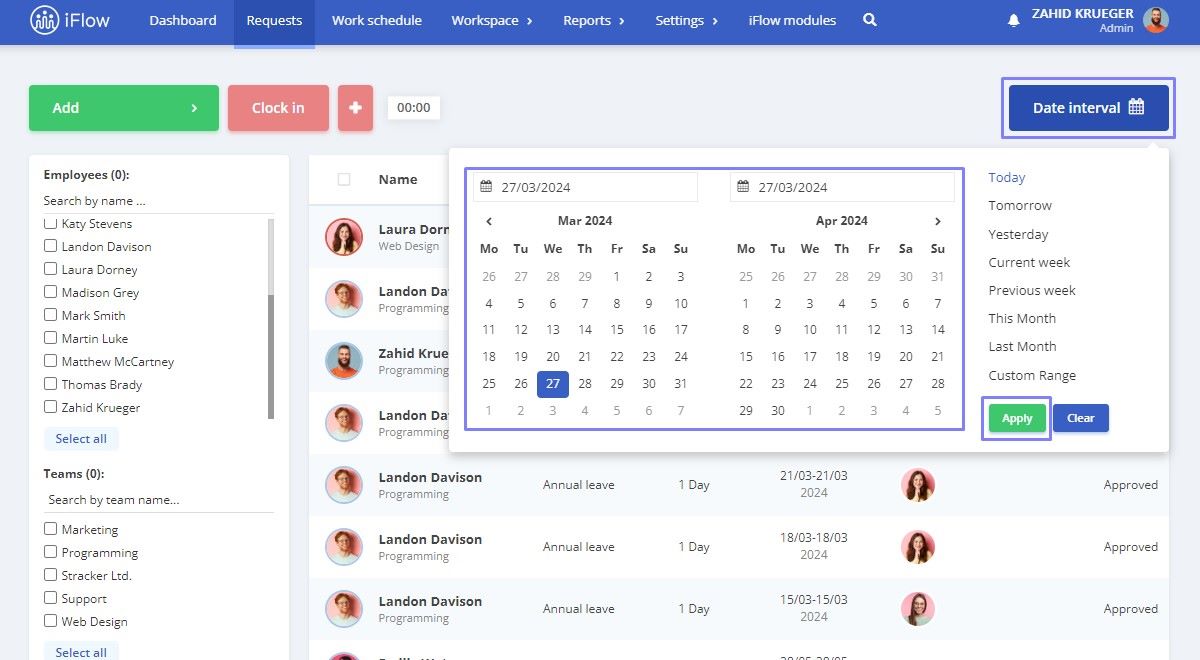
- Click the Date interval button on the right side of the page to choose information from a specific period and click Apply
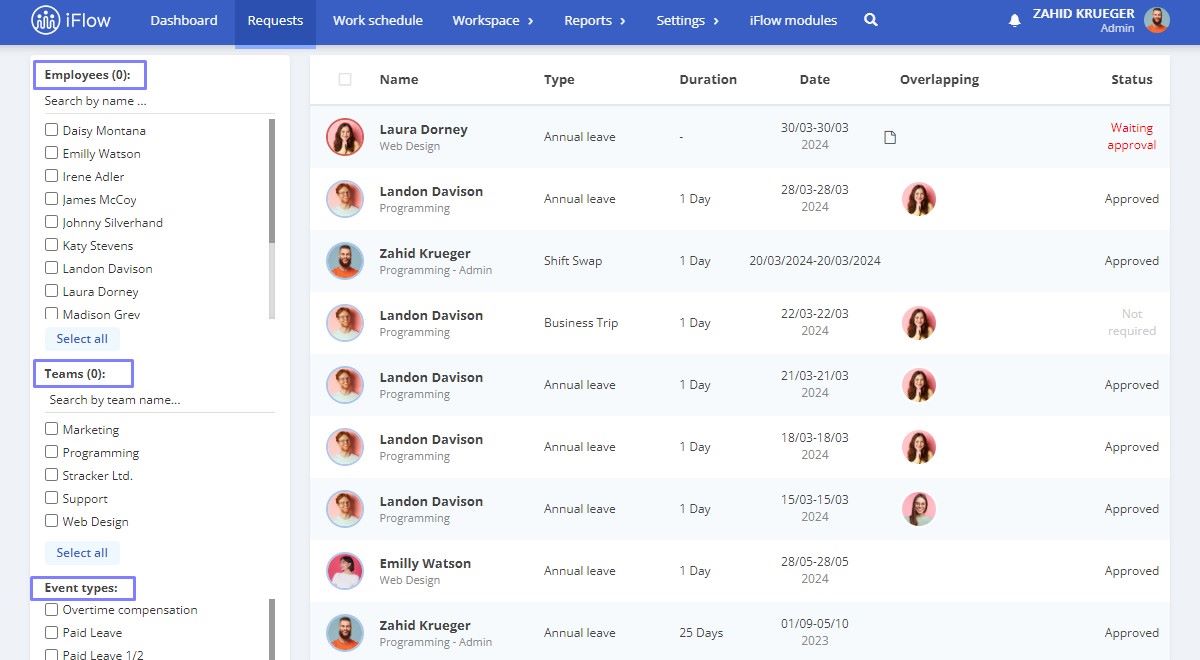
- Filter by Employees, Teams, Event Types, Status, or Hours Interval
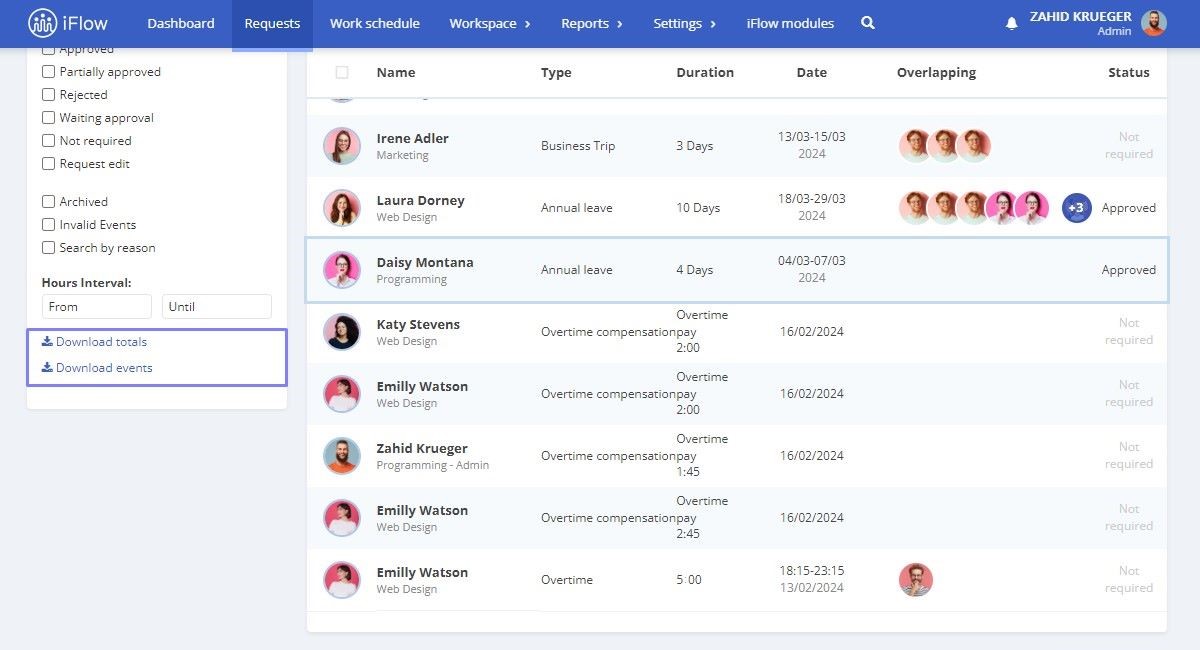
How to download information about totals and events
- Select the period
- Click on Download totals/Download events
- The Excel file containing the necessary information will be downloaded
How to manage attendance
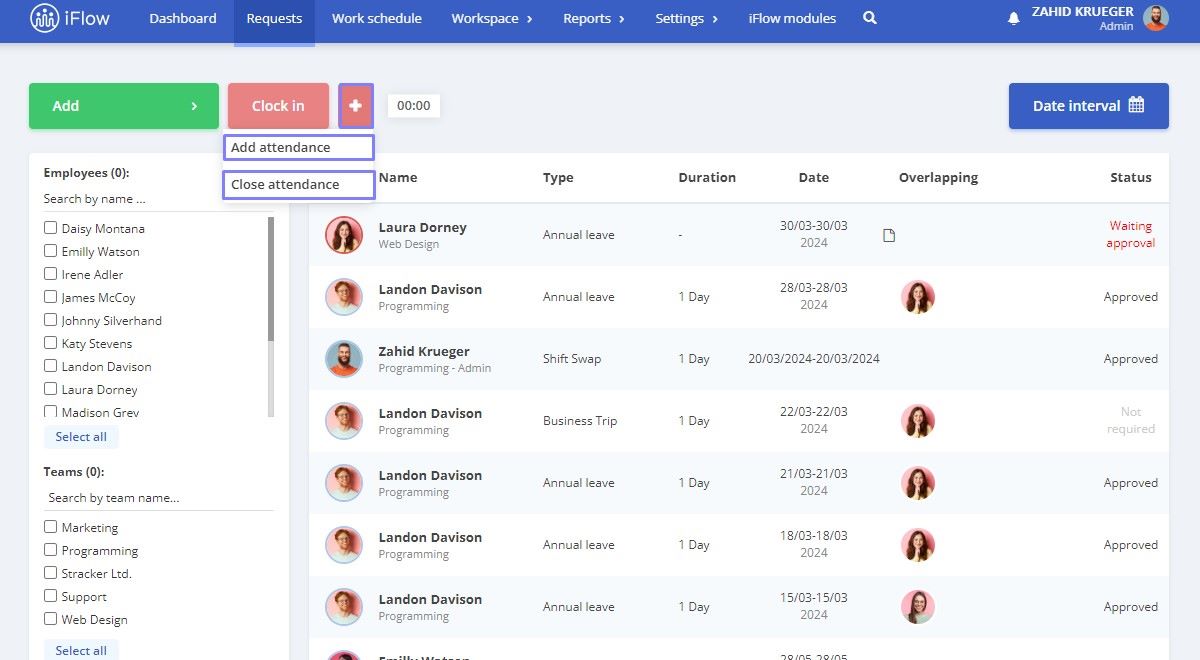
Adding or Closing attendance:
- Click on the + button
- Select Add attendance or Close attendance
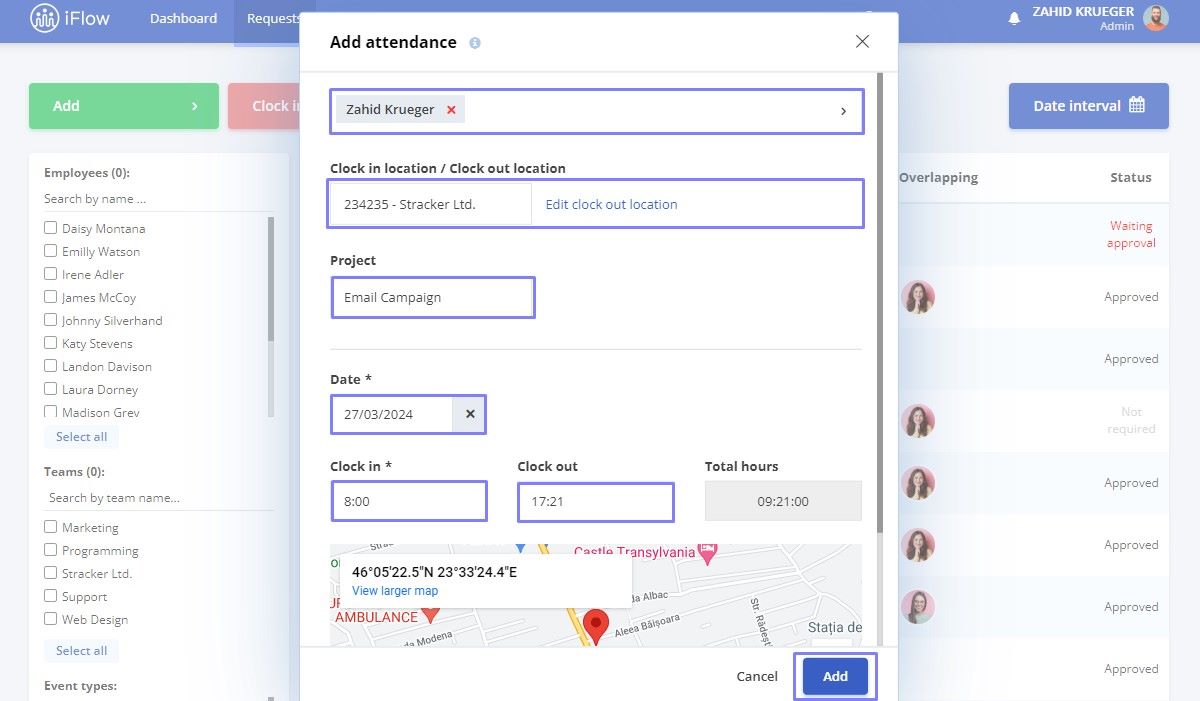
- Select the employee(s)
- Choose the Clock-in location/ Clock-out location and Project
- Set the Date
- Fill in the Clock in/ Clock out time
- To complete, click on Add