Live attendance is an essential part of the iFlow app. The latest changes and updates have changed completely the way employees are checking-in and out. From this point further, the admins and team leaders have access to multiple features that will help them in the app.
Live attendance for leaders, admin, and employees
If you have employees that don’t have access to the app, or you just don’t want to grant your employees access to iFlow, admins and team leaders can check-in/out these employees.
How do you check-in/out for other employees?
First of all, you need to make sure you are an admin or a team leader.
Settings for the admin:
- If you need to give team-leaders the possibility to check-in employees with real-time information, all you need to do is activate the Live attendance module and appoint team leaders
- If you need to offer team-leaders the possibility to check-in employees for a date or hour from the past, but also the permission to edit a check-in, you need to activate this permission from their profile. Access the employee’s profile – Settings – Permission – Live attendance edit permissions – select the team – Save settings.
On the Dashboard, you have two options for Live attendance: Check-in/out and “+”.
- Check-in/out – this button allows you to check-in/out for yourself
- The “+” button will help you check-in, other employees. This button has two options: Add attendance and Close attendance.
Click on the first option to check-in one or multiple employees. Also, you can check-in and out from the same window, select the location, the project (if the Projects module is on).
The option to Close attendance is useful if you have employees that are checking-in themselves, but forgot to check-out. This button will bring you all the data for these cases and will offer you the possibility to add checking-out hours for each employee from the same tab. This new feature will help you have flawless reports.
How do team members check-in?
Team members are users with limited permissions in the app and they can only check-in/out themselves. Based on their permission they can or can not check-in/out at a past hour/date.
Employees can access iFlow from the browser of any device (we recommend Chrome), and in order to use the app from their phone, we recommend creating a shortcut. The Dashboard, which is the first page that opens when a user logs into his iFlow account. This is the panel where employees can do everything: check-in/out, add requests for leave, overtime, etc.
To register a check-in they need to click on Check-in/out. iFlow will automatically register the date, hour, and GPS location. Additionally, the employees can select a location and/or project from the list.
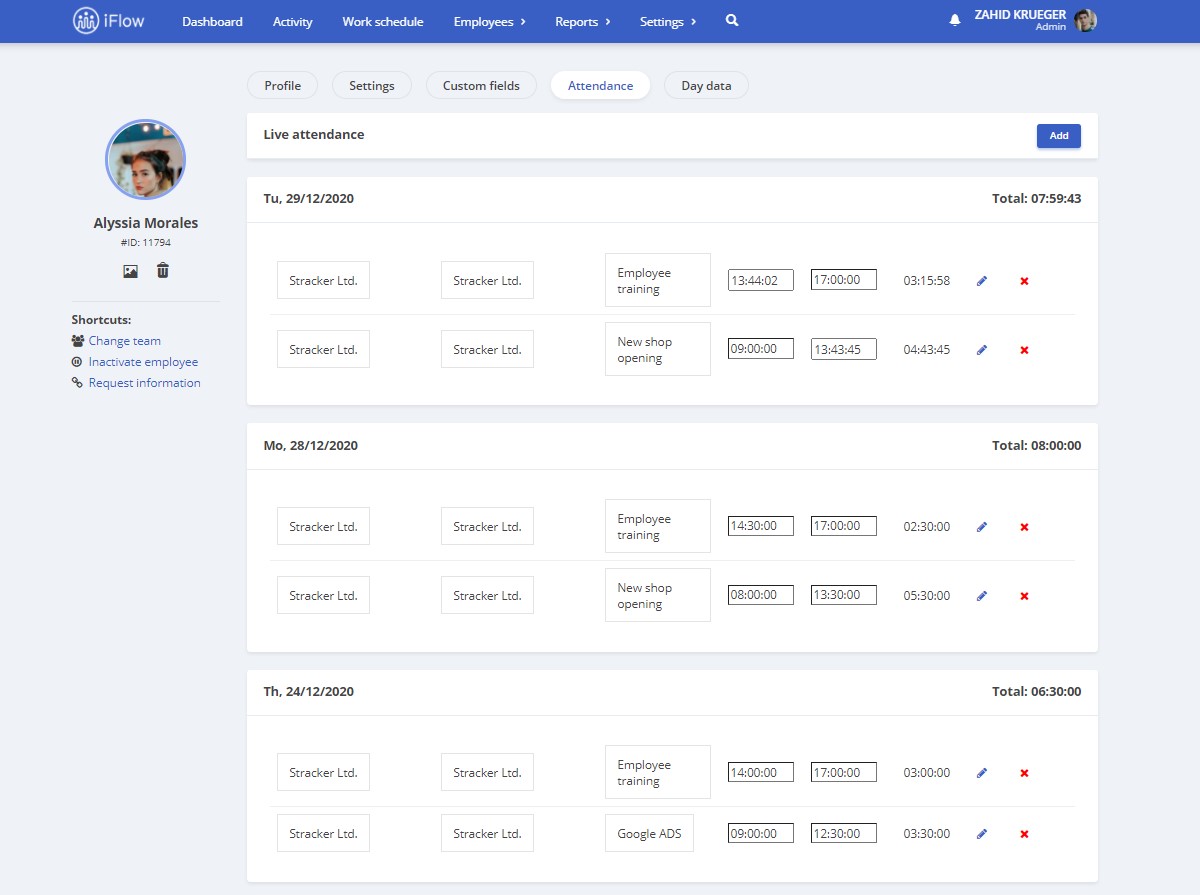
Employees can check their attendance and total working hours in their profile at the Attendance submenu.

Employees with permission to edit the attendance
Admins that want their employees to be able to make their own planning without checking their real attendance, can offer their employees permission to edit their attendance. This means that employees can add their attendance at the end of the week or at the end of the month.
From the employee’s profile, submenu Attendance, employees can add check-ins and outs easily.
Attention!
- Employees can be checked-in/out by admins or team leaders
- GPS location works only if the employee allows access to the location
- Admins decide if employees have permission to edit their check-ins and out
- Employees check their working hours in the Attendance submenu from their profile


