Find out how to use the iFlow project module and why this functionality is ideal when your employees have different activities very frequently, and you want to keep track of the time worked on each of them.
You can create the projects one by one, or you can import them. Find the steps to import projects here.
If you need additional fields in projects, make sure you create those before adding the projects.
You can even rename the “Project” to something else, such as “Clients,” and use the module to determine how much time your employee dedicates to clients. If you work in construction, you can rename the projects as “Activities” and record the time of employees on each action that takes place at each stonework.
Find the steps to create iFlow projects, below
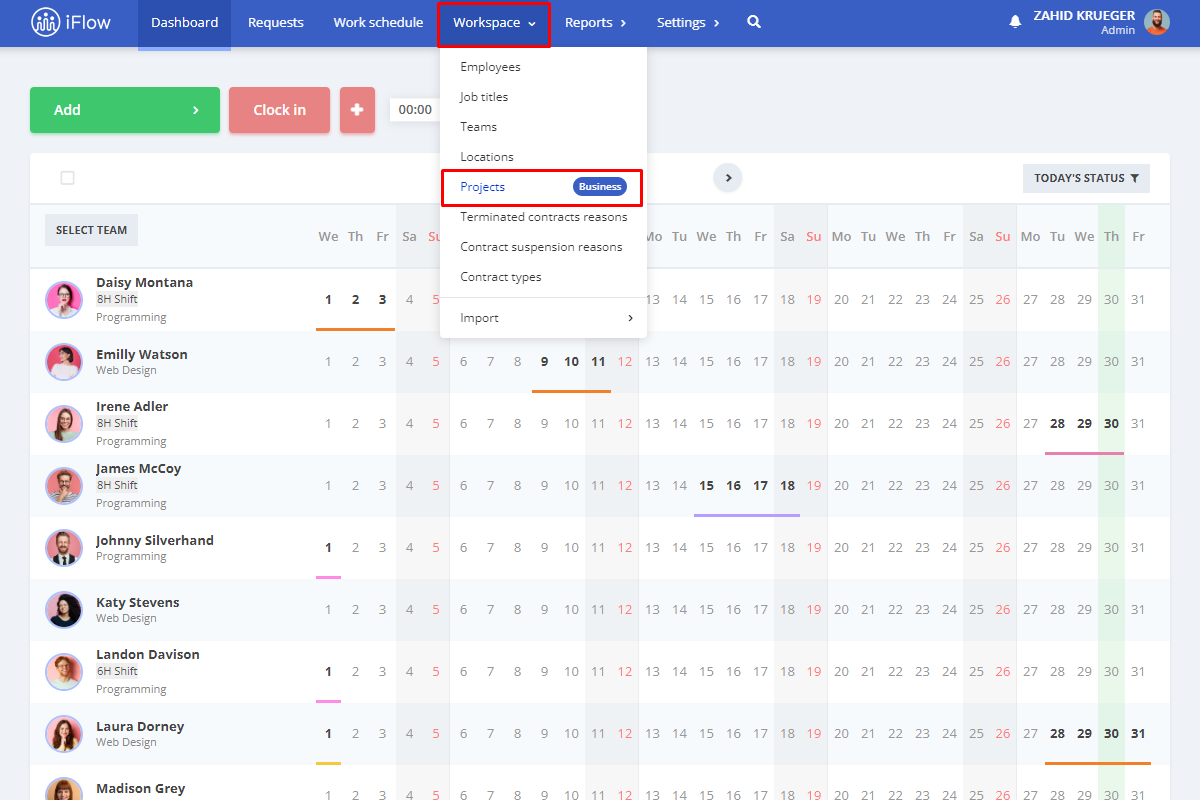
- From the main menu, go to “Employees” – “Projects“
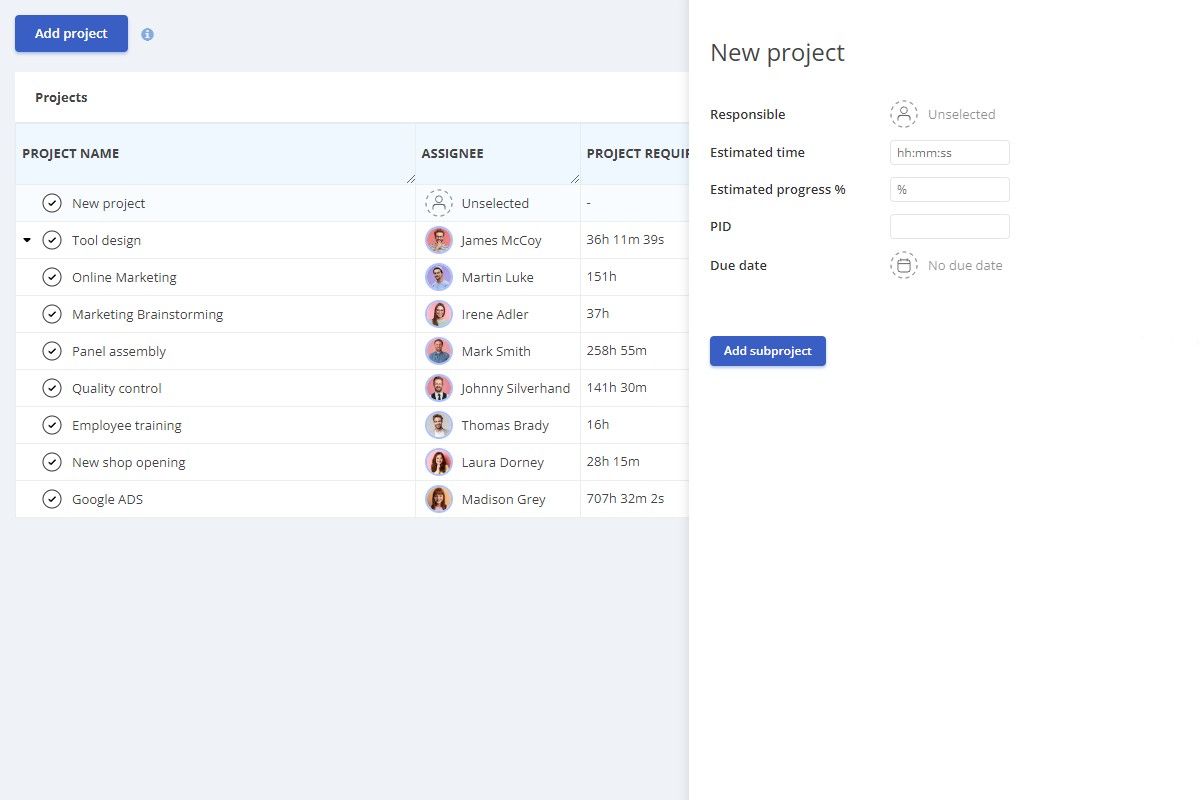
- Click on the “Add project” button
- On the main project box, check “No project“, when you create a main project. If you create a subproject, choose the main project for which you create it.
- * if there are custom fields, fill them out
- Click on “Add” to complete the action
How do I create subprojects?
Below are the steps to create subprojects
- From the main menu, go to “Employees” – “Projects“
- Click on the “Add project” button
- Choose the main project for which you are creating this subproject
- *if there are custom fields, fill them out
- Click on “Add” to complete the action
How do I edit, disable, delete or enable projects?
- In the main menu, go to “Employees” – “Projects“
- Click on the buttons “Edit“, “Disable“, “Enable“, or “Delete” next to the project/subproject (the “Enable” and “Delete” buttons appear only after you deactivate a project/subproject)


