
In iFlow, you can create two types of events:
- Time interval event
- Date interval event
How do I create a time interval event?
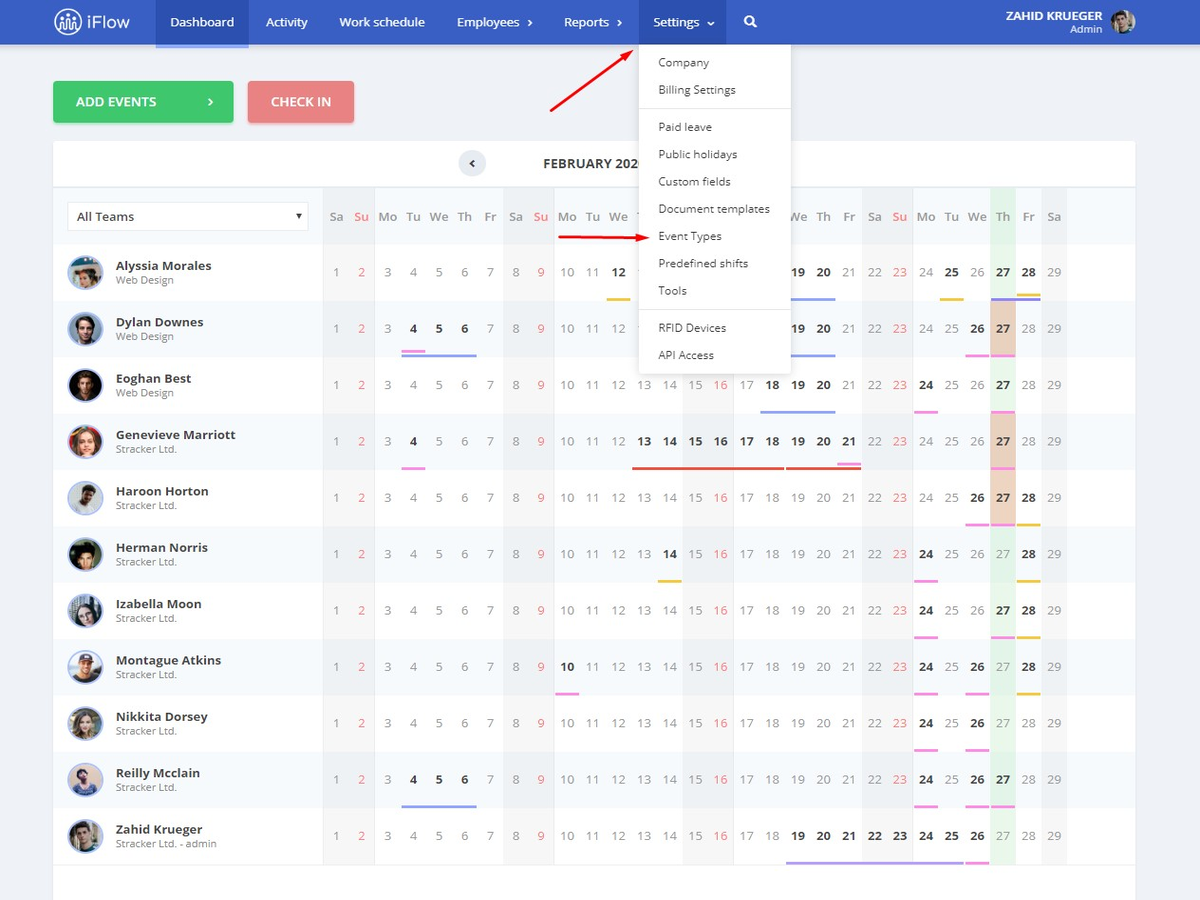
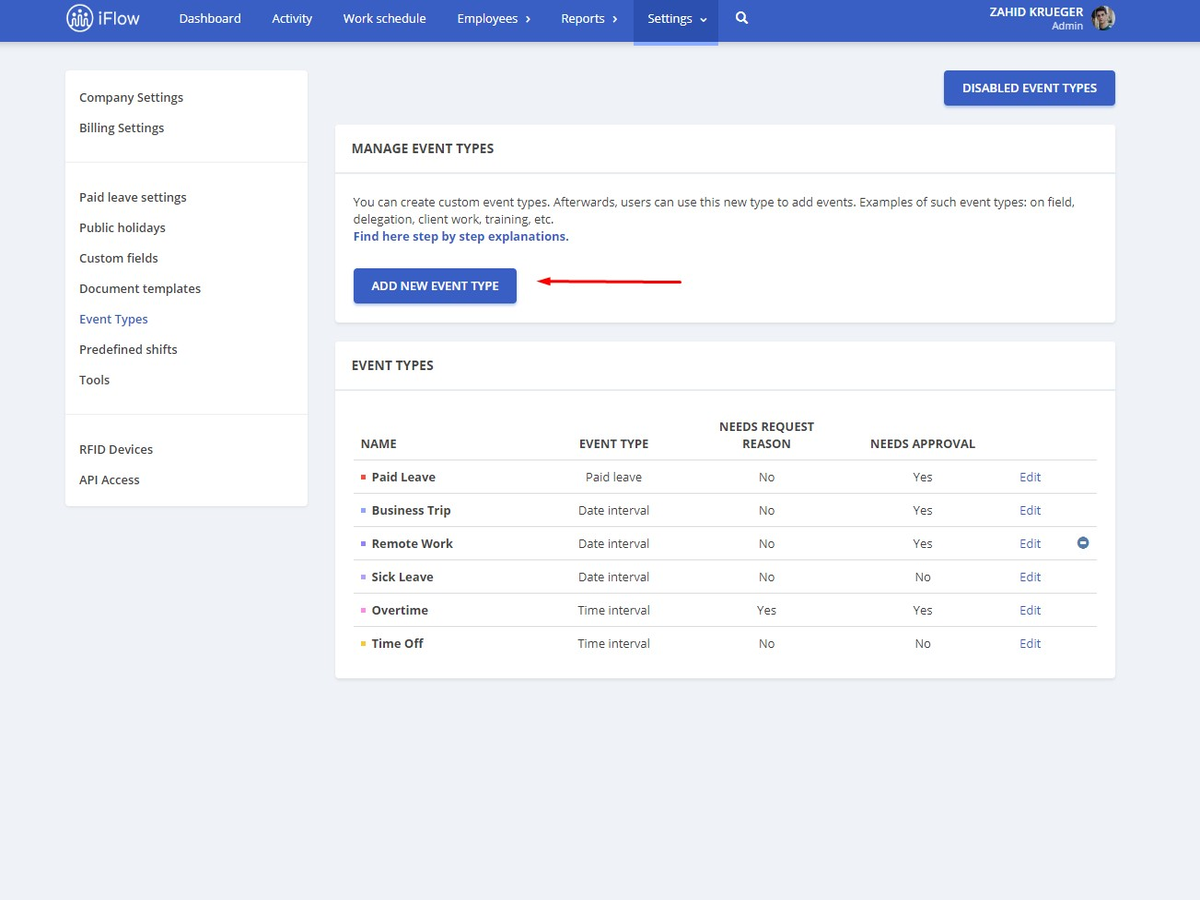
- Access “Settings” from the main menu
- Click on “Event types”
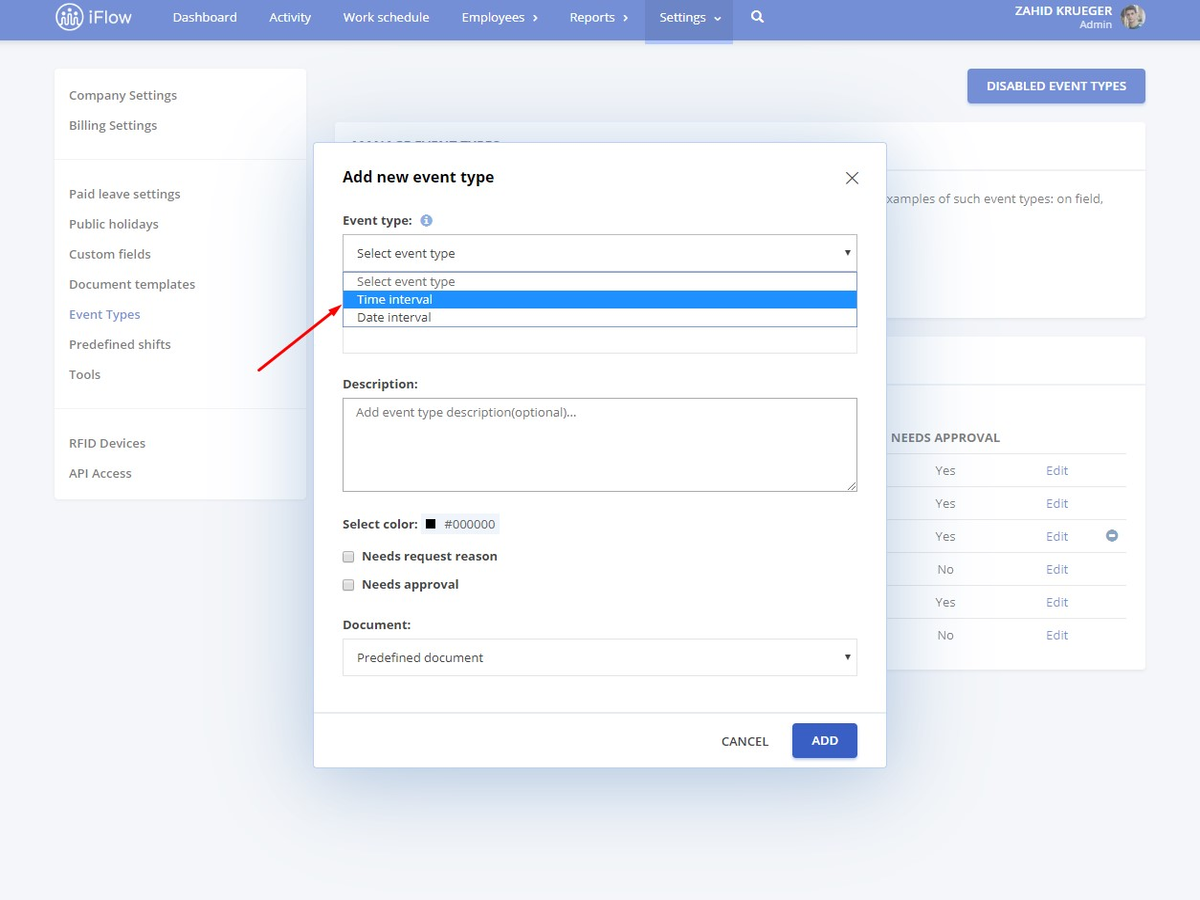
- Click on “Add new event type”
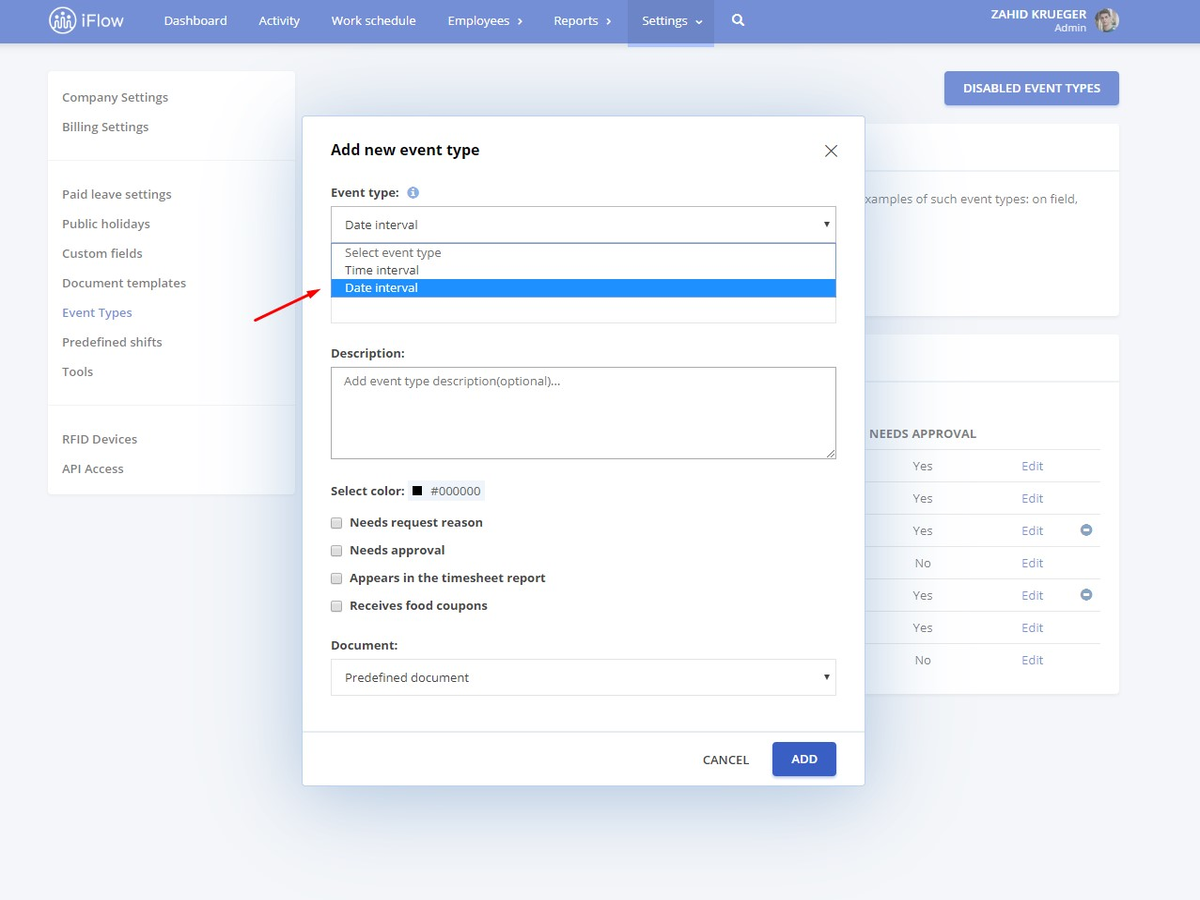
- Select the “Time interval” at the “Event type” section
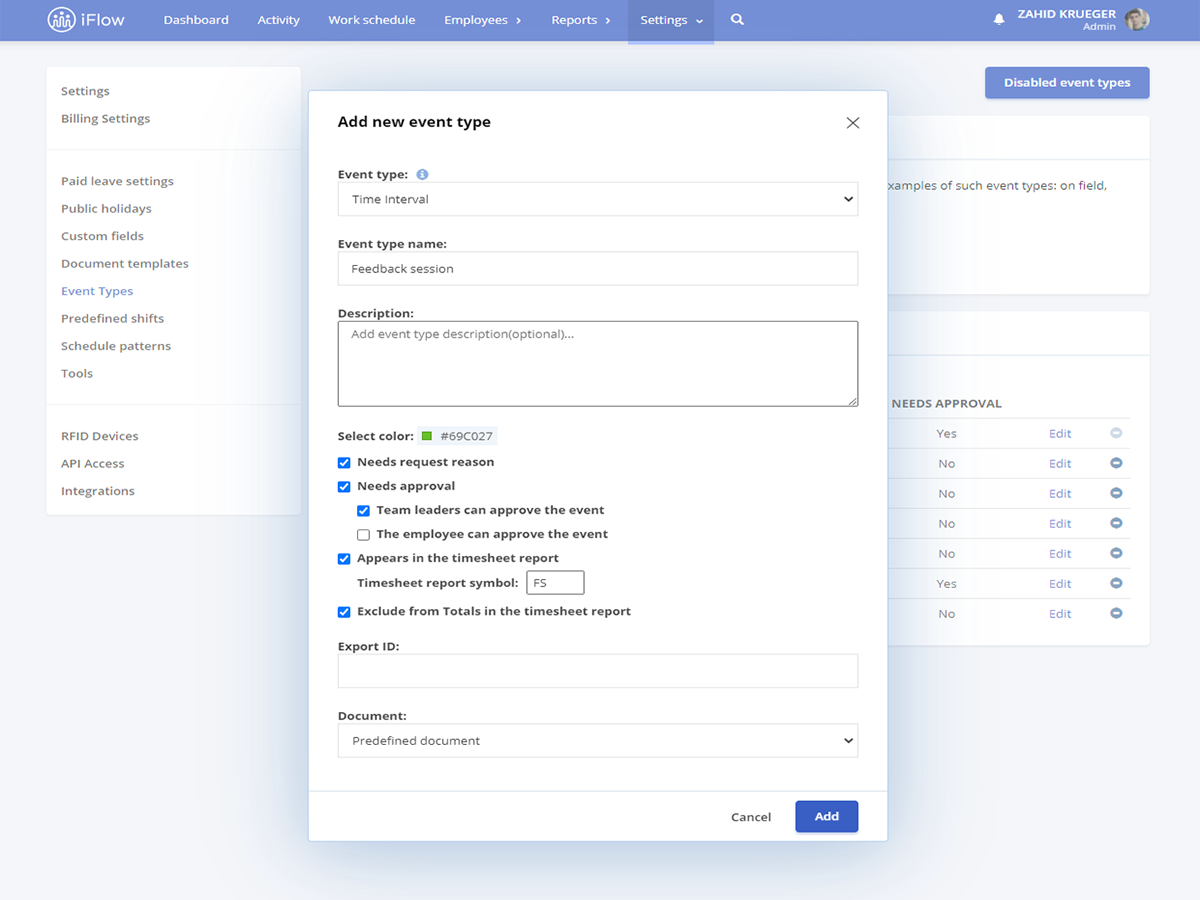
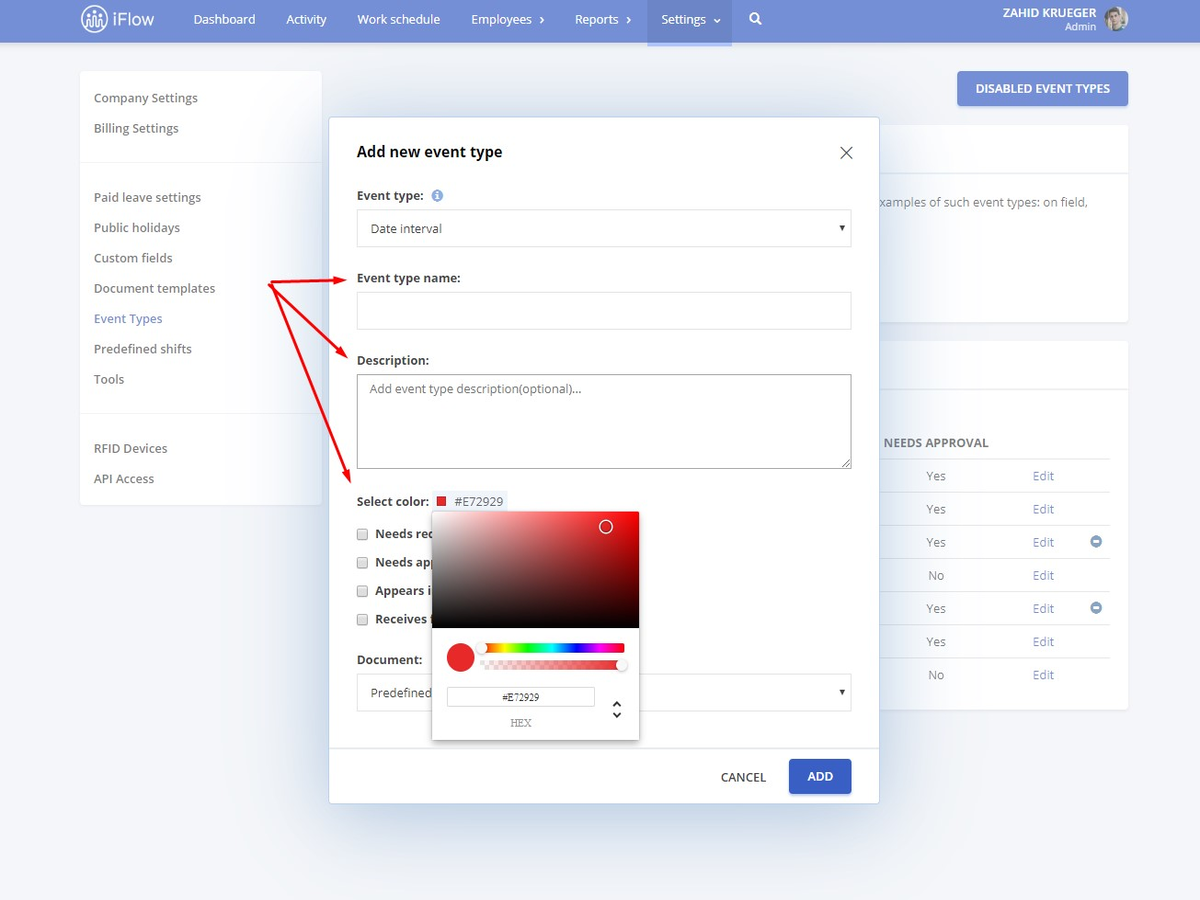
- Write the name
- Write a description (optional)
- Select a color (click on the black square and select)
- Check the “Needs request reason” box (if you wish to see a reason why the employees are adding this event)
- Check the “Needs approval” box (if you wish to approve/reject this type of event)
- Check the “Appears in the timesheet report“ box
- Fill in the symbol of the event
- Check the “Exclude from Totals in the timesheet report” box (if you wish to exclude the hours of this event from the timesheet report)
- Choose a document that will generate automatically for this type of event
- Click on “Add”
Note! The hours registered on this event will appear in the Timesheet in the “from which” column and will not be calculated in the “Total”.


How do I create a date interval event?
- Access “Settings” from the main menu
- Click on “Event types”
- Click on “Add new event type”
- Select the “Date interval” at the “Event type” section
- Write the name
- Write a description (optional)
- Select a color (click on the black square and select)
- Check the “Needs request reason” box (if you wish to see a reason why the employees are adding this event)
- Check the “Needs approval” box (if you wish to approve/reject this type of event)
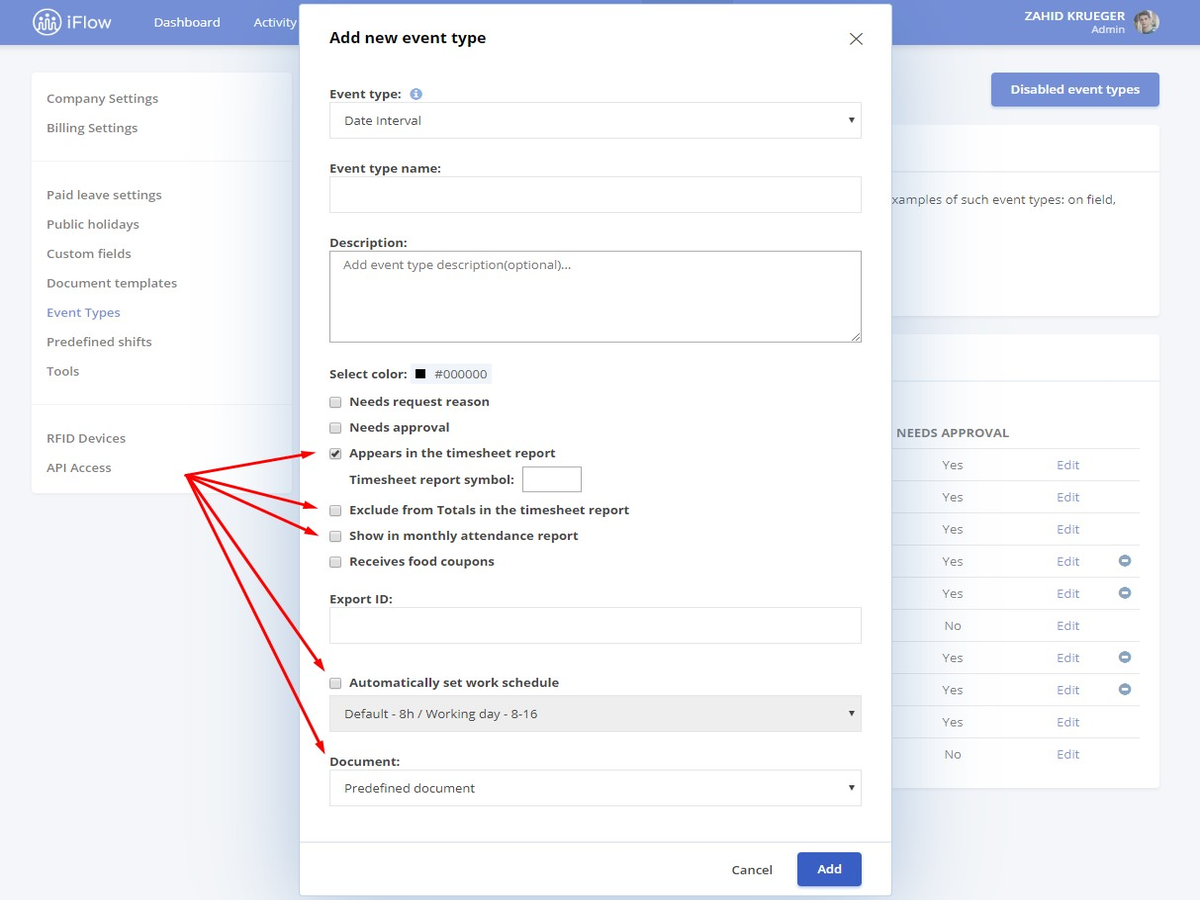
- Check the “Appears in the timesheet report” box (if you want it to appear)
- Select a “Timesheet report symbol” (if you checked the Appears in the timesheet report box)
- Check the “Exclude from Totals in the timesheet report” box (if you want it to not be calculated in the Timesheet report, this is good for Paid leaves)
- Check the “Show in monthly attendance report” box (if you want the symbol of this event to show on the days it is happening)
- Check the “Receives food coupons” box (if you want the employee to receive food coupons on the days he has this event added)
- Choose a shift from the “Automatically set work schedule” header*
- Choose a document that will generate automatically for this type of event
- Click on “Add”


* At the “Automatically set work schedule” header you can select the predefined shift or a shift that you created
** This feature helps the companies that use the check-in/out feature. Now they don’t need to add a work schedule during events, for them to appear in reports
***This feature is optional for all types of events.
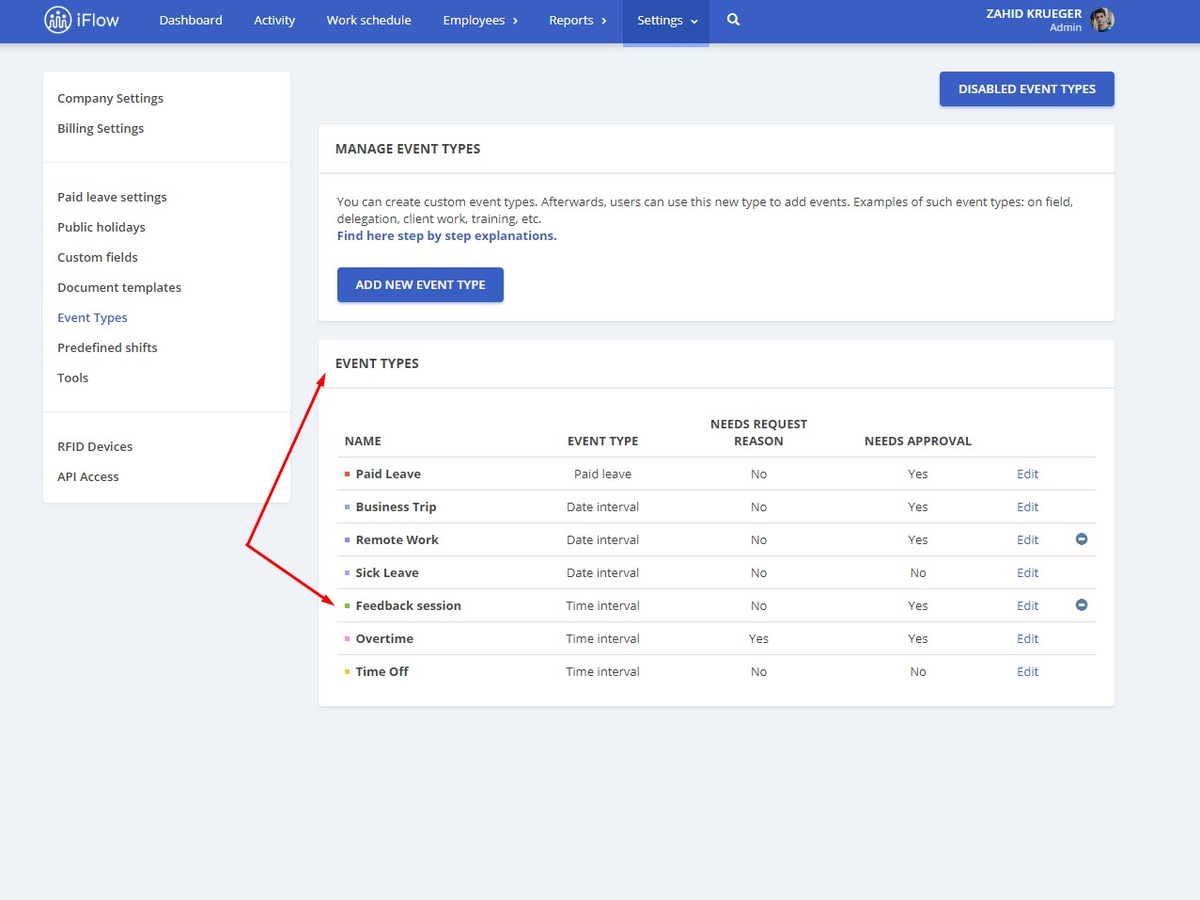
How do I edit an event?
- Access “Settings” from the main menu
- Click on “Event types”
- Click on “Edit” for the event that you want to change
- Do the changes you want
- Click “Save”
Note! The only element that you can’t edit is the type of event (time or date interval).


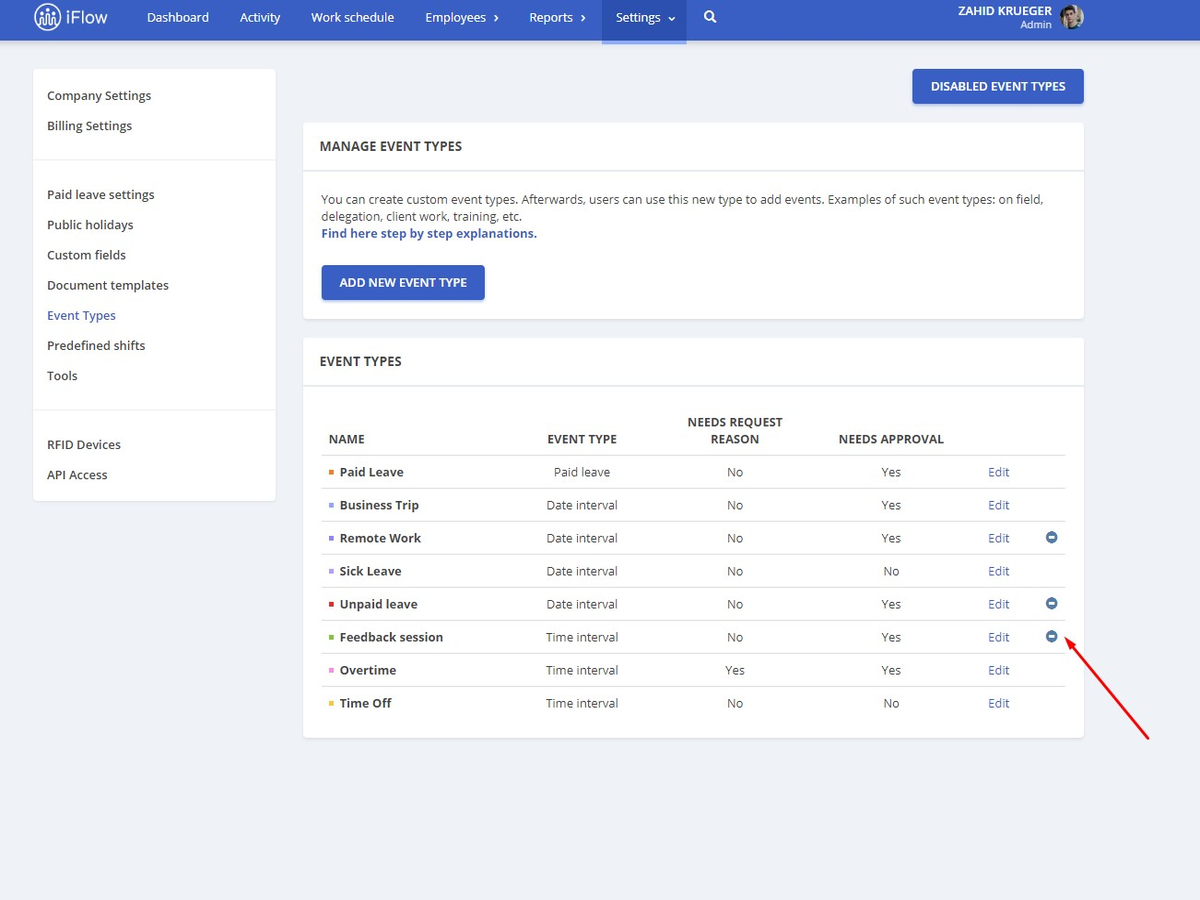
How do I deactivate/delete an event?
- Access “Settings” from the main menu
- Click on “Event types”
- Click on the blue button for the event that you want to deactivate (next to edit)
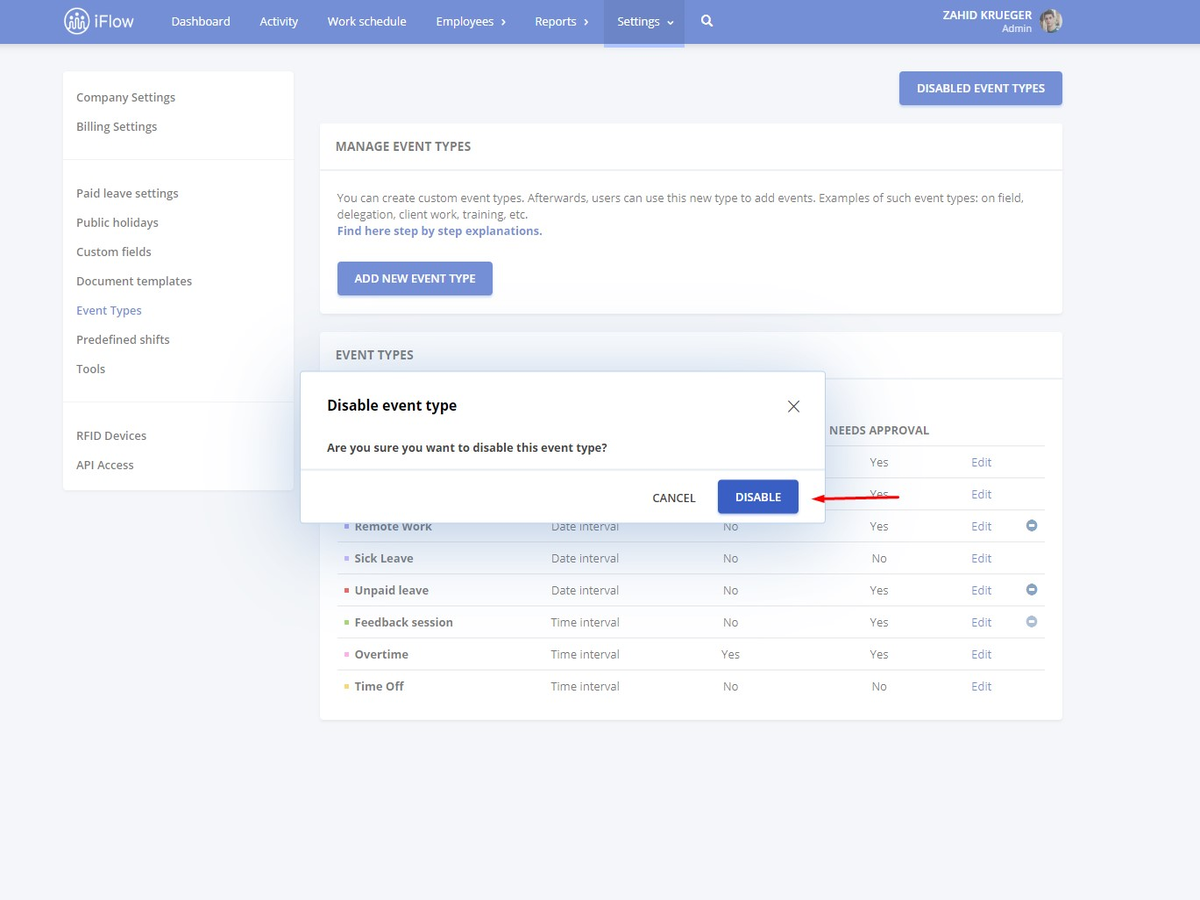
- Click “Disable”
After it is deactivated, an event will appear in the “Disabled event types” list.

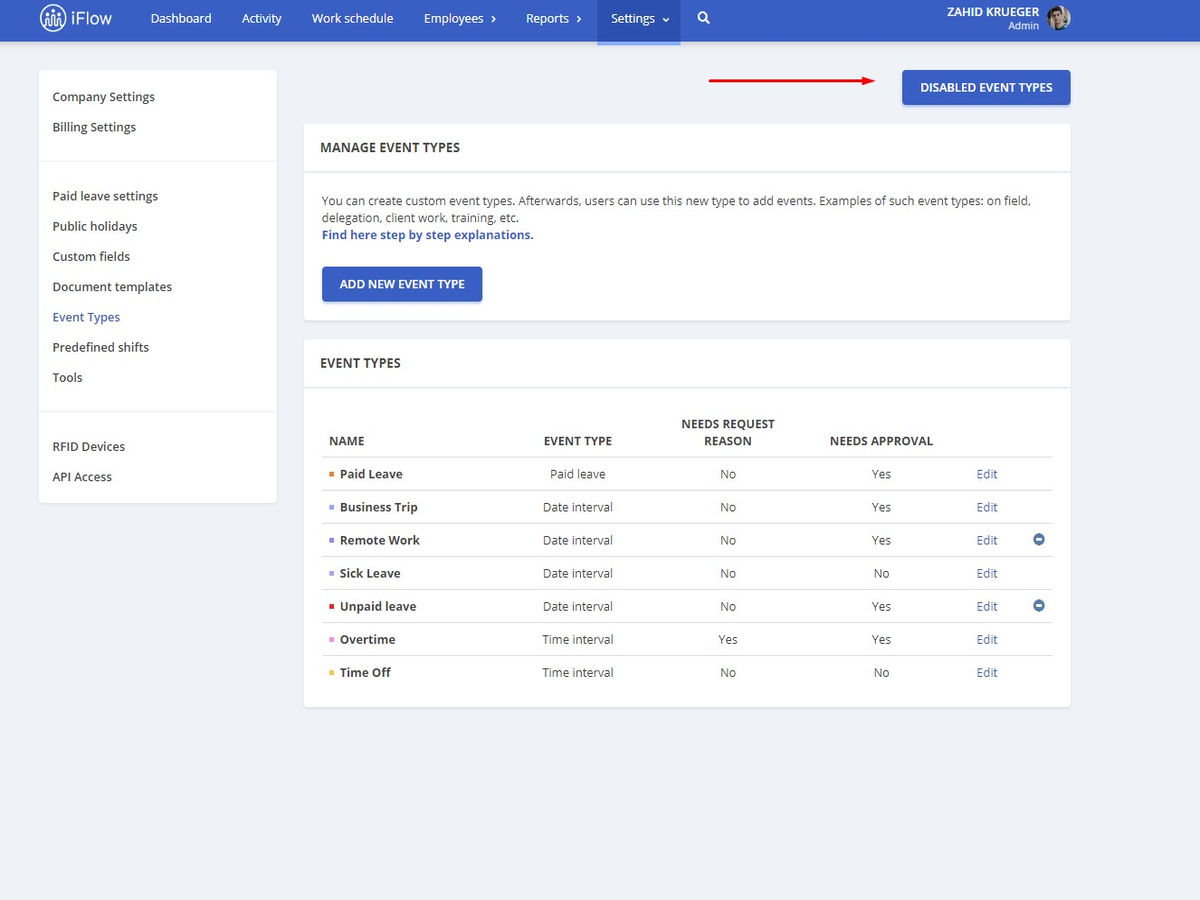
How do I reactivate a deactivated/deleted event?
- Access “Settings” from the main menu
- Click on “Event types”
- Click on “Disabled event types”
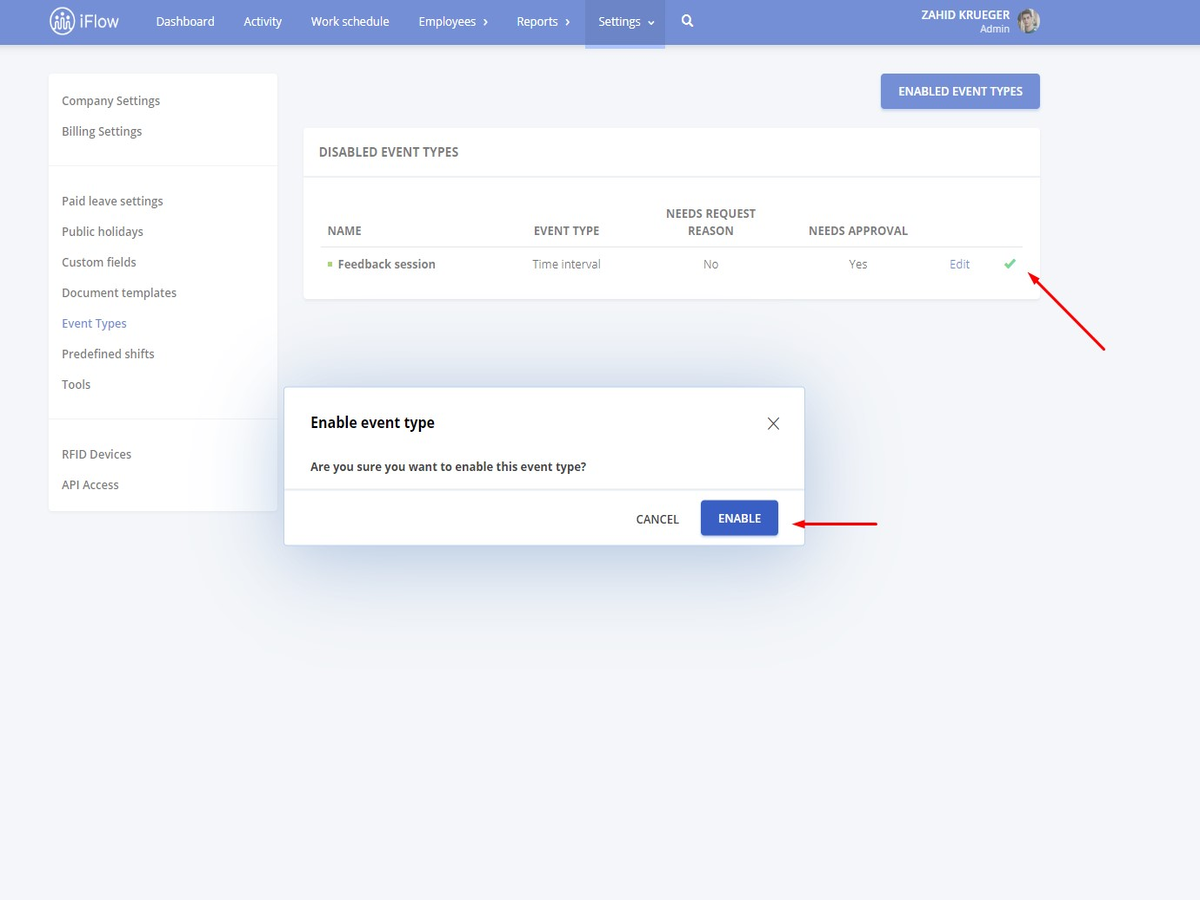
- Click on the green check button for the event that you want to reactivate (next to edit)
- Click “Enable”

Keywords: type of events, event types, create events, edit events, delete events

